The word ‘scampi’ means shrimp, so this dish is called shrimp shrimp.
Fun Fact: There are more than 2000 species of shrimp.
This is a pretty simple dish but it really comes together as more than just the few simple ingredients that are used. I think one of the great parts of the recipe is using the shrimp shells to make the stock that forms the base of the sauce. Its a great lesson on not wasting any part of the ingredient and making fresh shrimp stock is so much better than what you might find in a store so its a win-win. I’d also say feel free to experiment with the type of noodle. I like rigatoni since its about the same size as the shrimp for easy eating.
This recipe is from Not Another Cooking Show (click here) and while I stayed close to the recipe, I did use Argentinian Red Shrimp which actually gave my sauce that more deep orange/red color compared to his recipe which I actually think I preferred. I also served it with some homemade bread which I think is non-negotiable since you’ll want to mop up that super delicious sauce (don’t you dare waste it). This was a super fun and easy recipe to make and the dish was fantastic, definitely recommend and I’ll be making this again in the future.
If you put two types of salsa then it counts as multiple servings of vegetables.
Fun Fact: Tortillas are preferred over bread by NASA for use in outer space since they don’t create crumbs the same way. So technically making this dish is scientific research.
I’m not a huge user of pressure cookers but when you don’t own a dutch oven it becomes the next best option to cook tough meats. This was one of the few times I’ve tried using the instant pot and it turned out great! The beef was super-duper tender and the flavor of the spices and sauce came through in the final dish. This makes a great dish for hosting since it requires no constant attention, you can just set it and when it finishes, can keep it warm in the same pot. The beef can be made into any type of dish you can think of; burritos, nachos, burrito bowls (unlike Chipotle, guac isn’t extra here) but I decided to make tacos with a salsa and toppings bar.
The barbacoa recipe is a mashup of a few recipes I scoped out online from Brian Lagerstrom, Sam the Cooking Guy, and Joshua Weissman. I mixed a few elements from each and I think it turned out great. This is a recipe you can tinker with a bit to suit your taste buds.
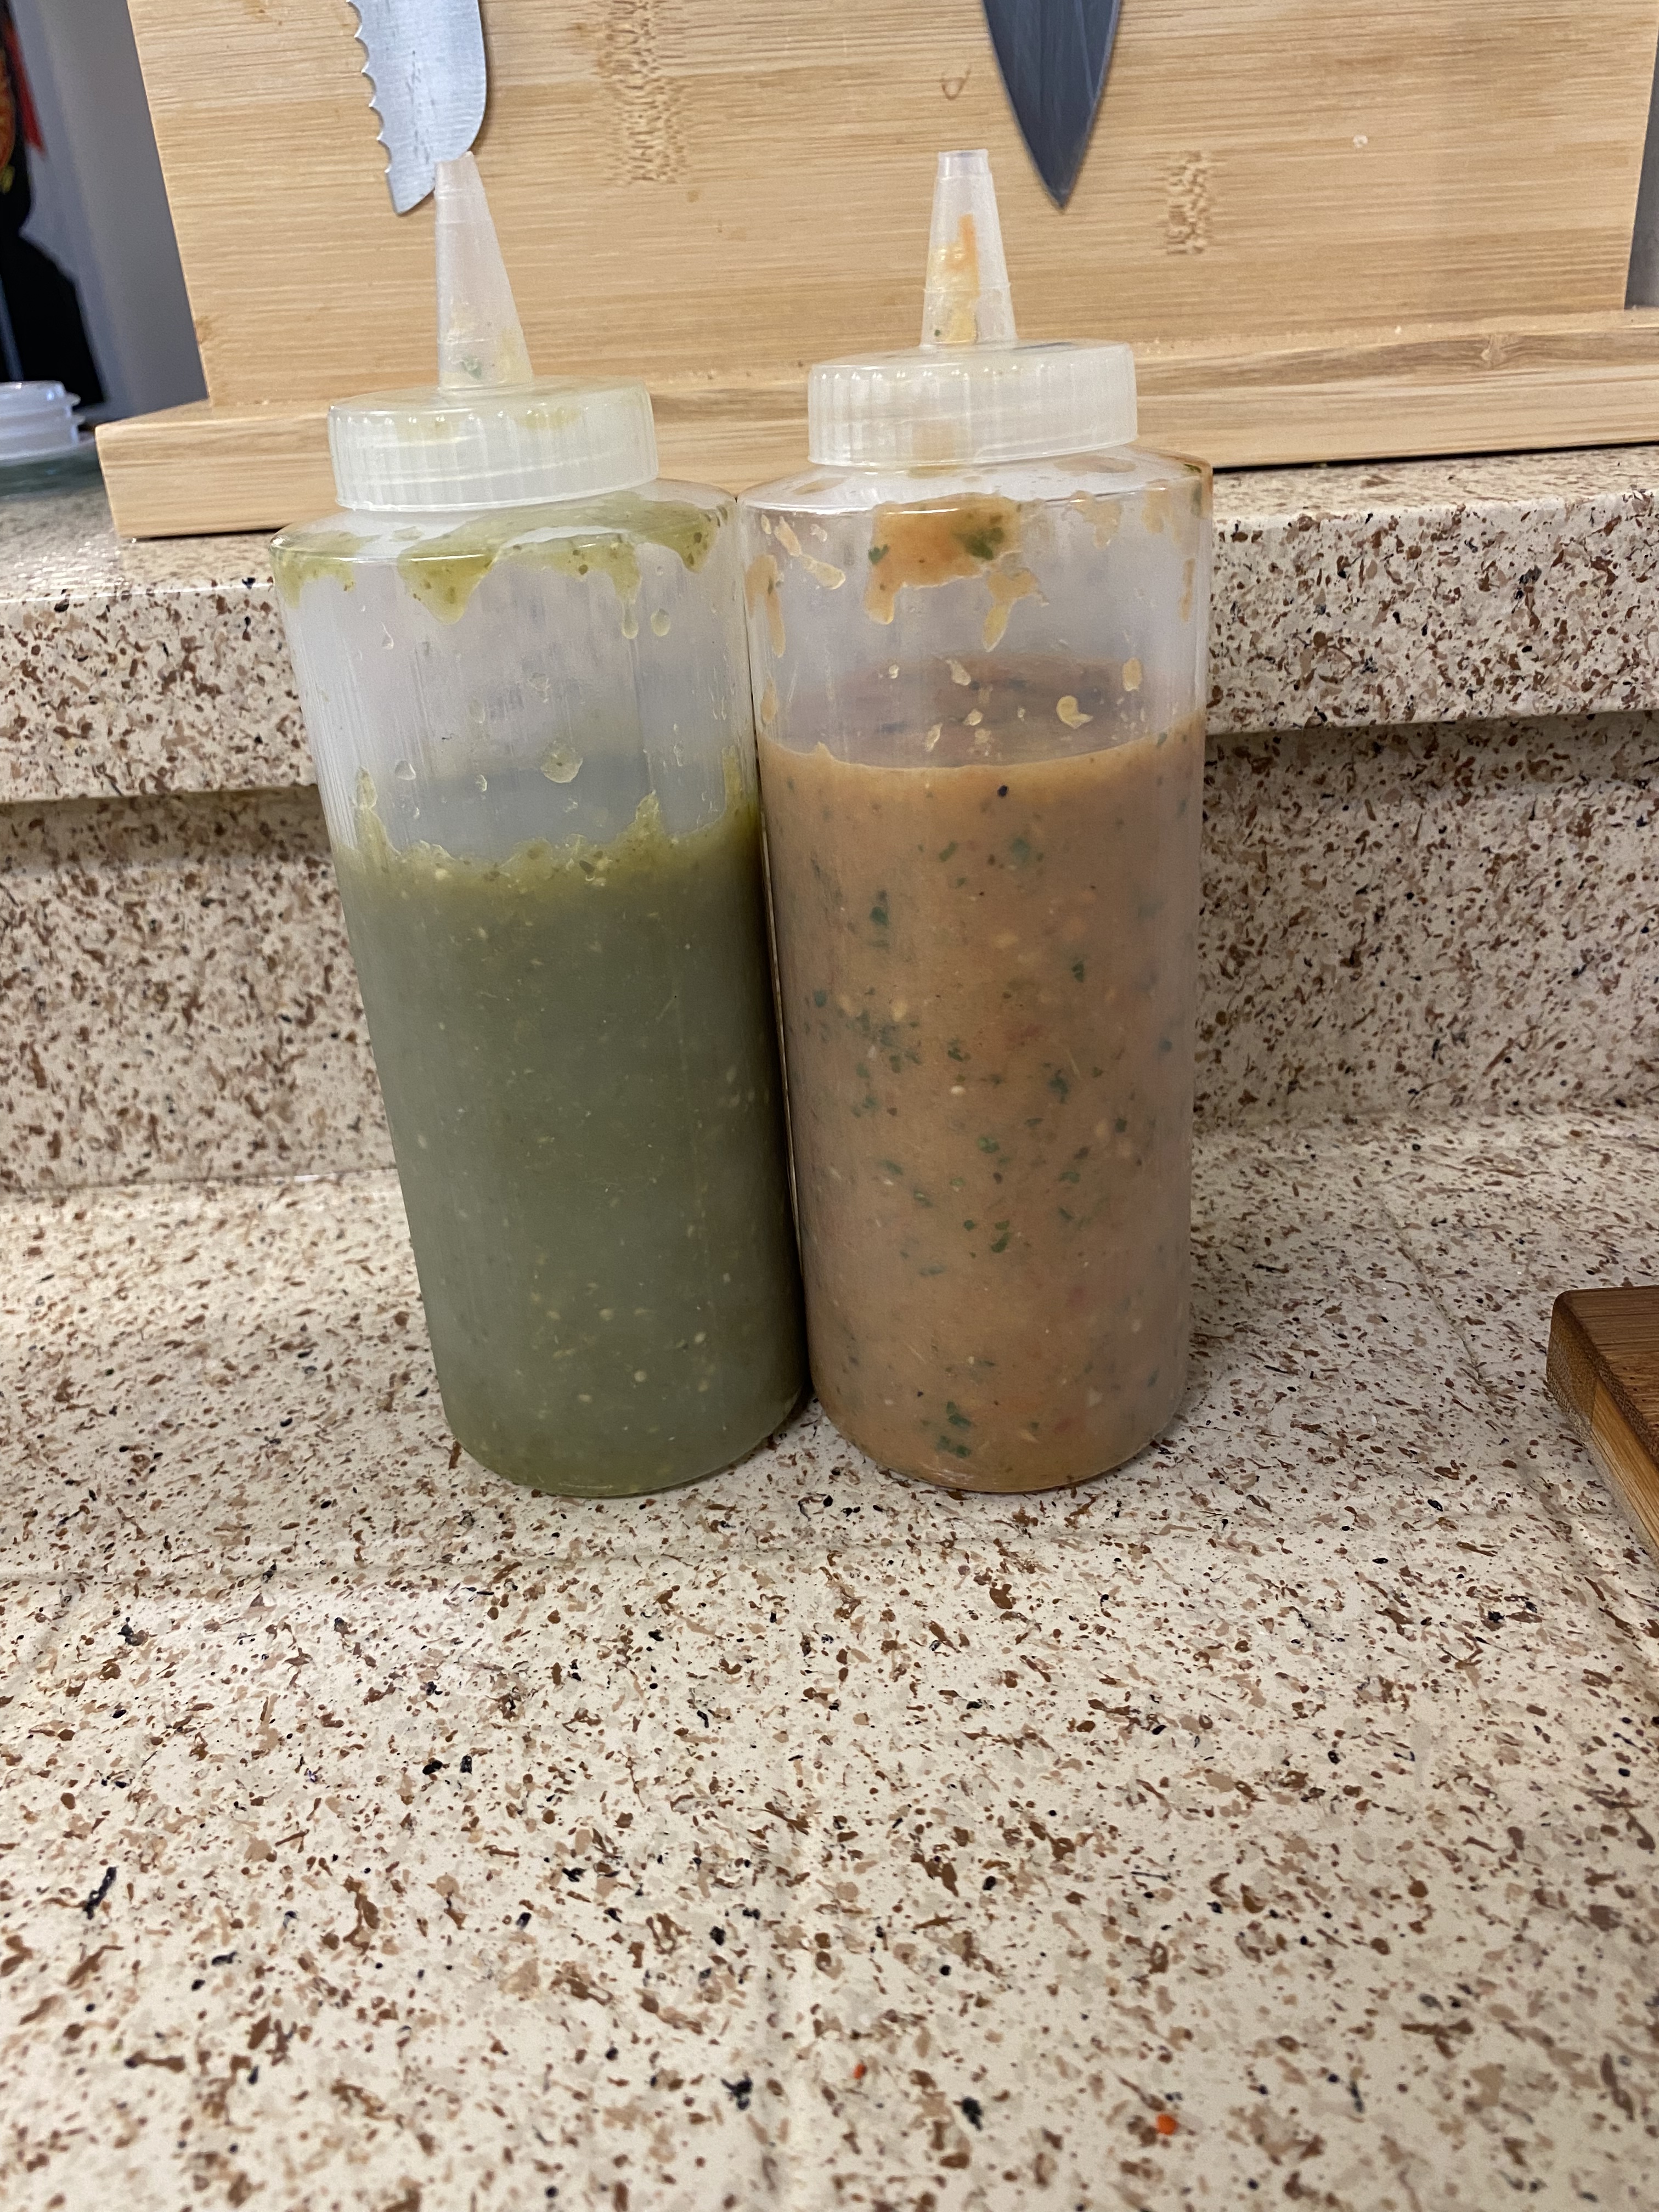
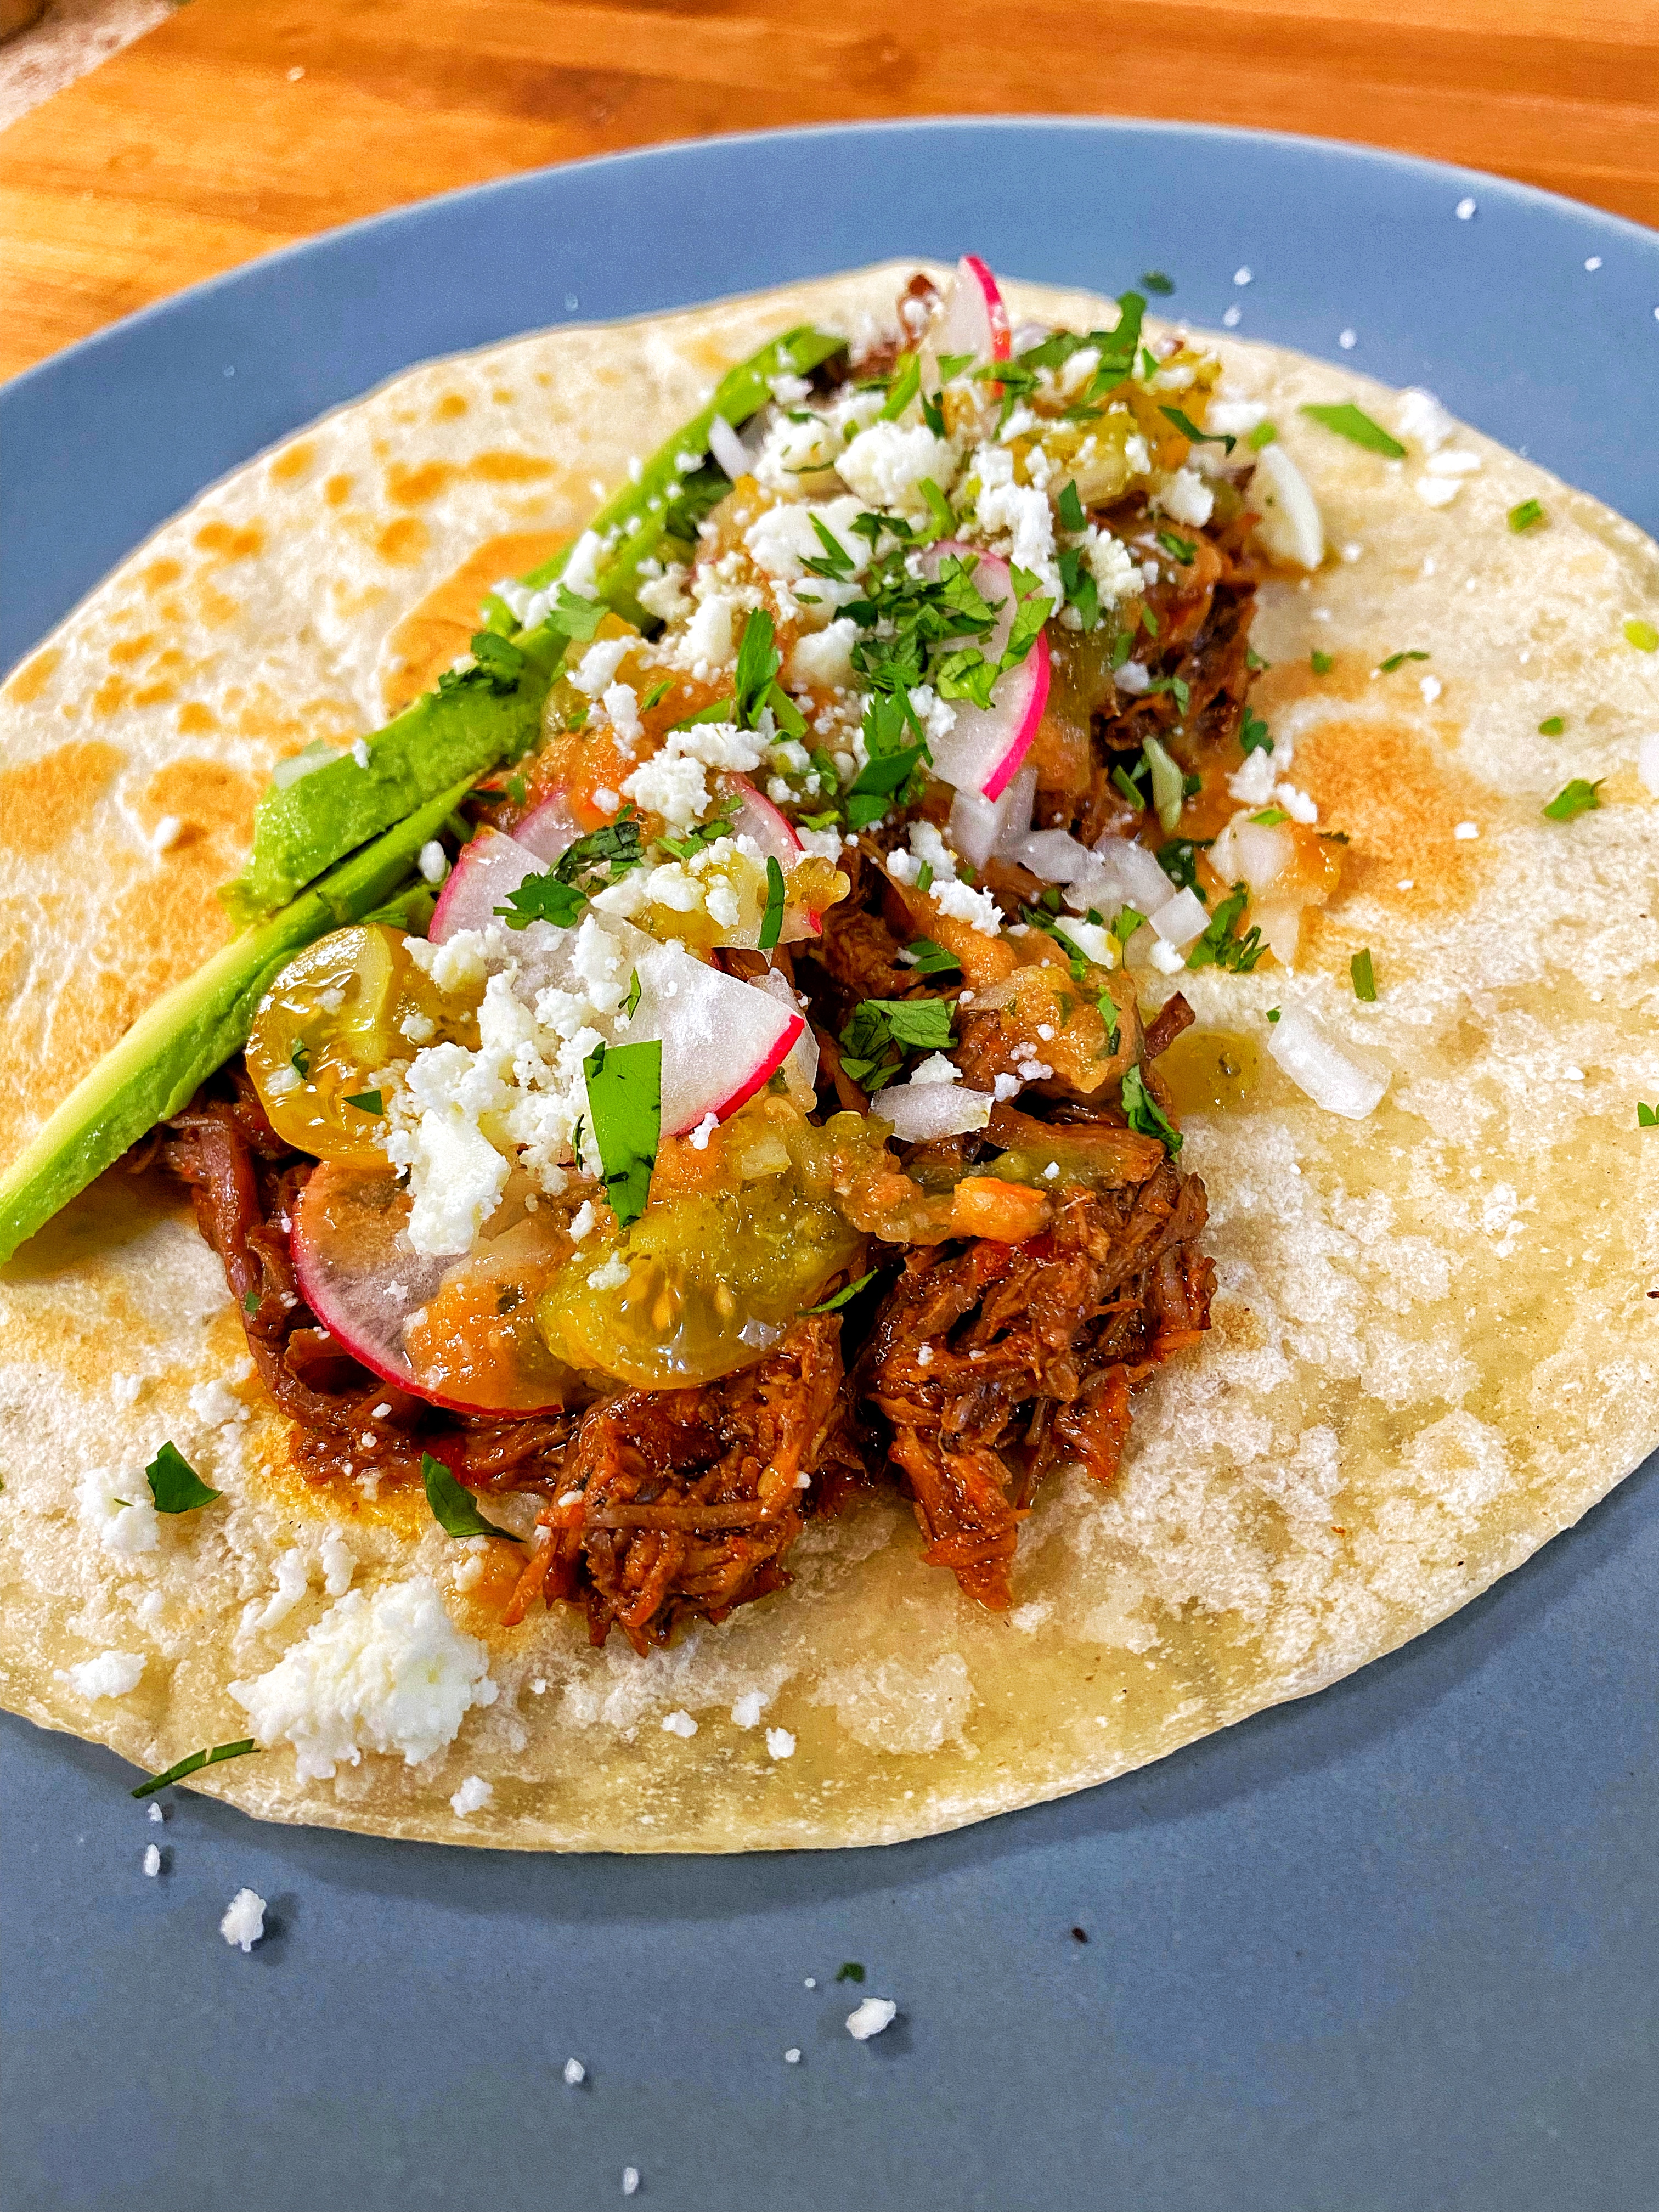
For toppings, I decided to go with a salsa bar sort of vibe. I made a tomatillo salsa, a roasted tomato salsa, and included diced onion, cilantro, pickled onions, radish, avocado (of course) and queso fresco. This is great if you have guests since everyone can decide what to put on their own taco.
Side note – of course it’d be best to make homemade tortillas, but I found a refridgerated tortilla brand that is uncooked. Its soooooo much better than the normal pantry tortillas (cough *mission* cough) and actually gives some good chewy-ness and flavor without tasting like white bread. Def recommended if you can find it. The brand I used is called ‘Tortillaland’ and its in the refrigerating section near the cheeses or other Mexican items.
Tips and tricks:
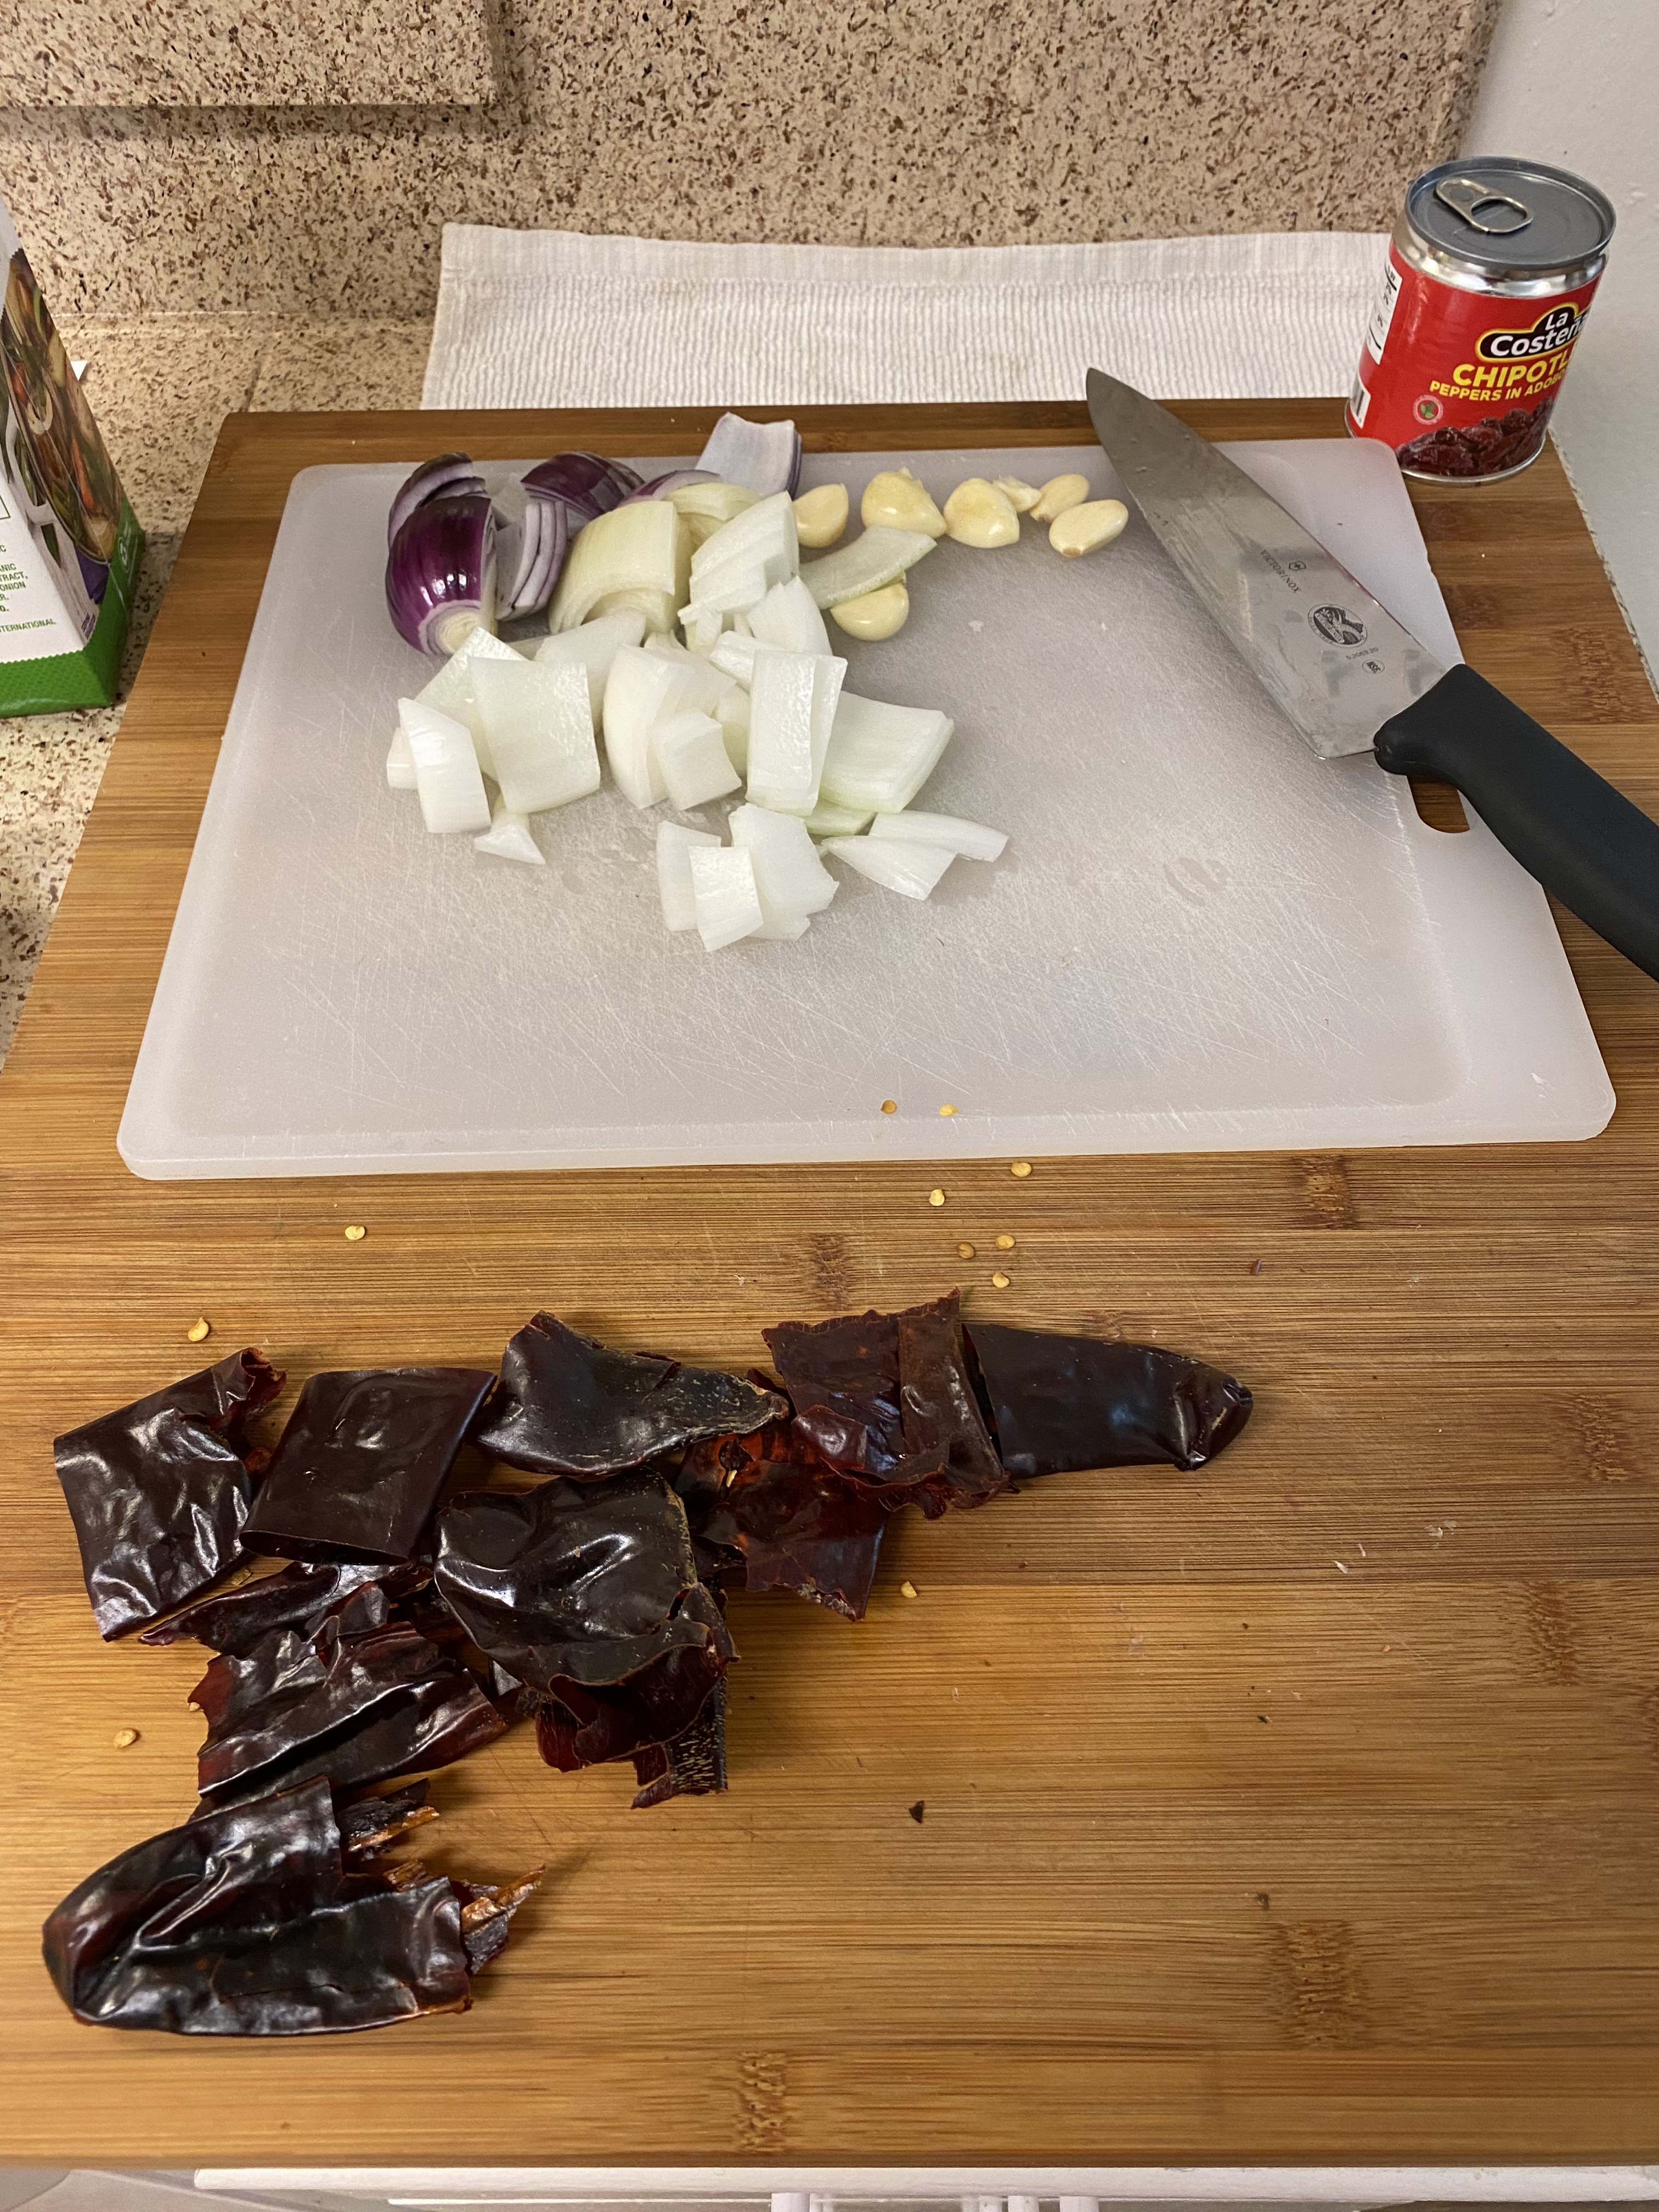
Adjust the types of chiles you use to get different flavor profiles. I used guajillo and Anaheim because that’s what I could find but Ancho and Chile Negro would be great as well.
Get creative with the toppings, this is great for hosting since everyone can customize their own dish.
Don’t charge extra for guac. Then again, it’d be weird if you charged people to eat at your house after inviting them over.
This can also for sure be made in a dutch oven by braising the meat. My guess is to add more liquid initially and cover with a parchment paper as well as the lid to trap in more moisture.
Put the salsas in little squeeze bottles for the full taqueria style vibes.
Ingredients
Barbacoa:
3.5 – 4 lb beef chuck roast (use beef cheek if you can find it)
2 c. beef stock
Juice of 1 orange
1 onion
6-8 garlic cloves, peeled
1.5 Tbsp ground cumin
1 Tbsp paprika
1 Tbsp dried oregano
4-5 dried chiles with seeds removed. (I used guajillo and Anaheim but use what you have available)
2 chipotles in adobo with 1-3 Tbsp of the sauce
salt and pepper
Tomatillo Salsa:
~1.5 lb. tomatillos
1 medium onion
3-5 garlic cloves
2-4 jalapeños
1 poblano pepper
1/2 bunch cilantro
lime juice
salt and pepper
Roasted Tomato Salsa:
3-5 roma or tomatoes on the vine
2-3 tomatillos (optional)
2 jalapenos
1 poblano pepper
1/2 bunch cilantro
lime juice
salt pepper
Garnishes:
Queso Fresco
Avocado
Radish, thinly sliced
Lime wedges
Diced onion
Chopped cilantro
Get Cooking
Prepare the salas: this can be done a day ahead and allowing the salsas to sit in the fridge for a day makes it even better tasting.
Tomatillo Salsa: This is meant to be a more mellow salsa to accent the spicy barbacoa. Peel the tomatillos and rinse them under water, chop into quarters. Rough chop the onion, poblano, jalapeños, and peel the garlic. Place in a pot, cover with water and boil for 5-8 minutes. Place all in a blender with the cilantro and lime juice and blend until smooth. Season to taste with salt/pepper and adjust the lime juice as needed
Roasted Tomato Salsa: Halve the tomatoes, tomatillos (optional), and rough chop the onions, jalapeños, poblanos, peel the garlic. Place on a sheet tray and toss with oil and salt. Place under the broiler for 5-10 minutes until some char is seen. Place into a blender with the cilantro and lime juice. Blend until smooth and adjust seasoning as needed.
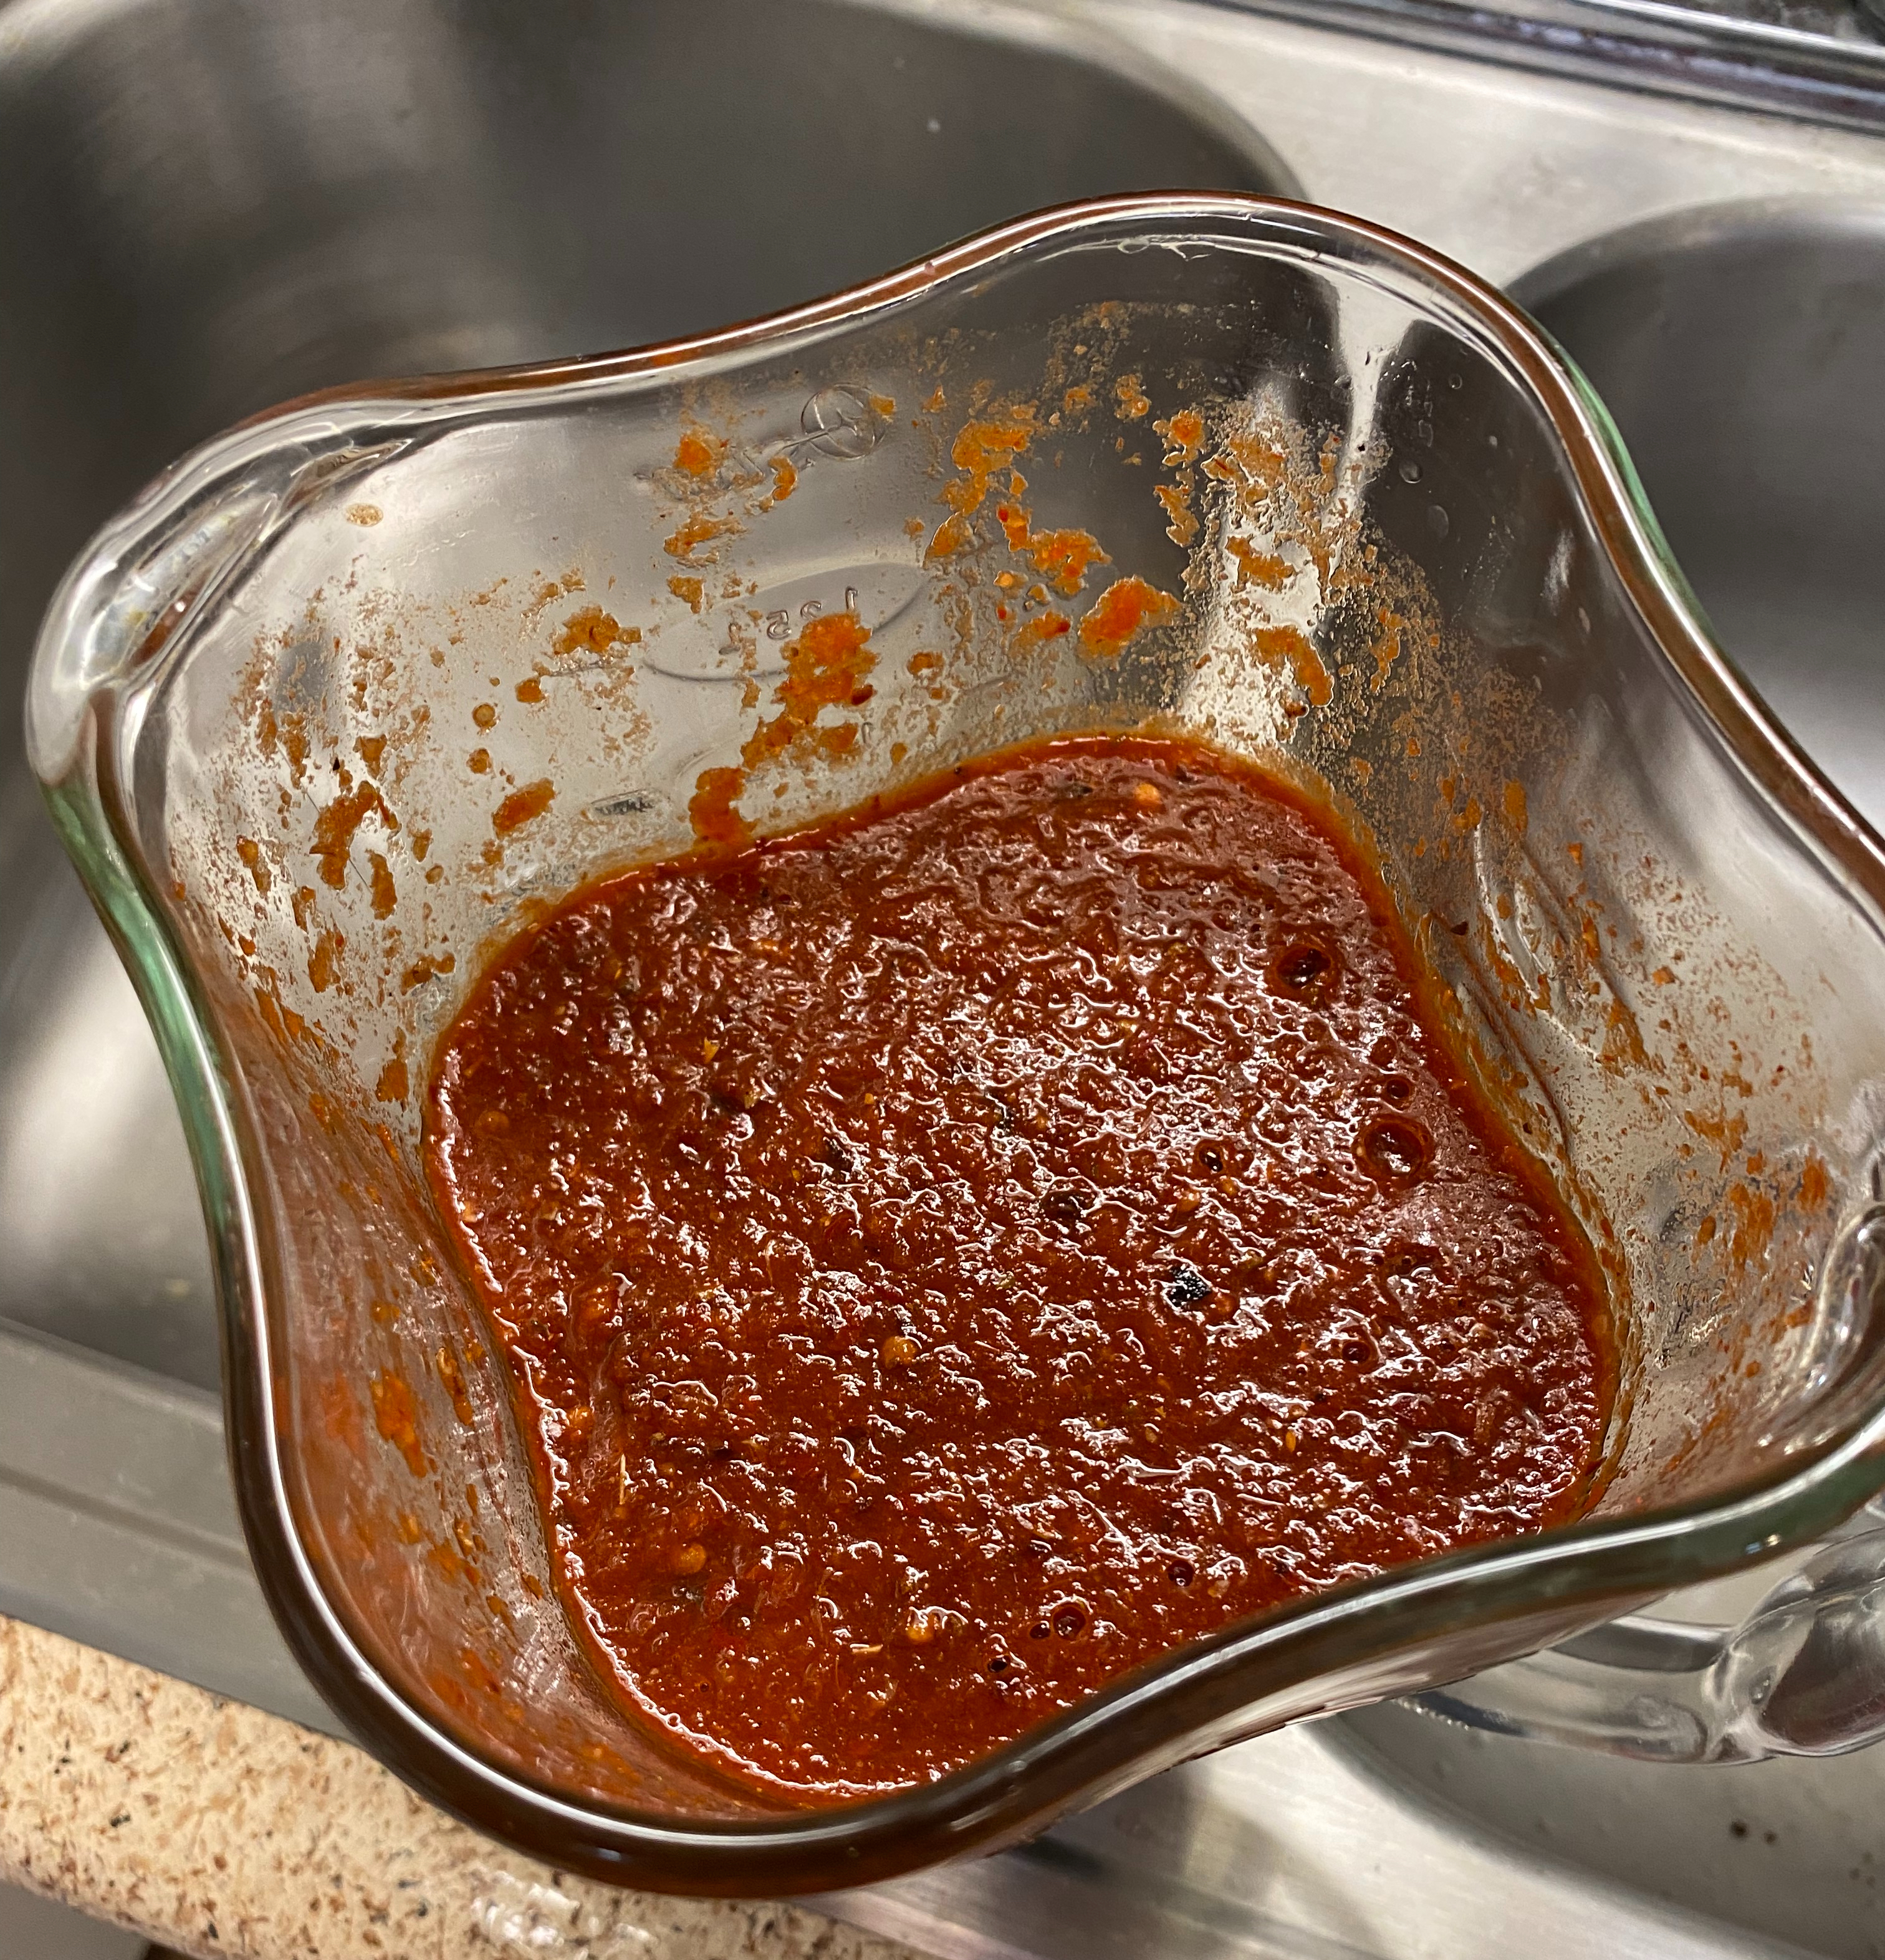
Prepare the beef cooking liquid. Deseed the dried chiles and tear into pieces. Put in a pot with the boiling beef stock and turn the heat to medium low and let steep for 10-15 minutes until soft. Place the dried peppers, liquid, onion, chipotle peppers, orange juice, and garlic in the blender and blend until smooth. Set aside.
Prepare the beef by cutting it into 2-3 inch chunks and trimming the silver skin and most of the fat, but leave some for cooking. In the instant pot or a skillet, sear at least 1/2 to 3/4 of the beef on all sides until golden brown. Place the browned beef and the cooking liquid in the pressure cooker and cook on high pressure for 60 minutes. ** Its important to allow the pressure to naturally release for 10-20 minutes once the cooking is done. Do NOT do a quick release as it will dry out the meet and the texture will not be as good.
Pull the meat out with tongs and place in a preheated skillet and sear a little while smushing the meat to break it into shreds, it should be very tender. Add a little of the cooking liquid to glaze the meat.
Serve with heated tortillas and any toppings you want!
Tacos = Good. Short ribs = good. This dish = good.
Fun Fact: The word taco comes from the Nahuatl word ‘tlahco’ which means “half or in the middle”, referring to the way it is formed.
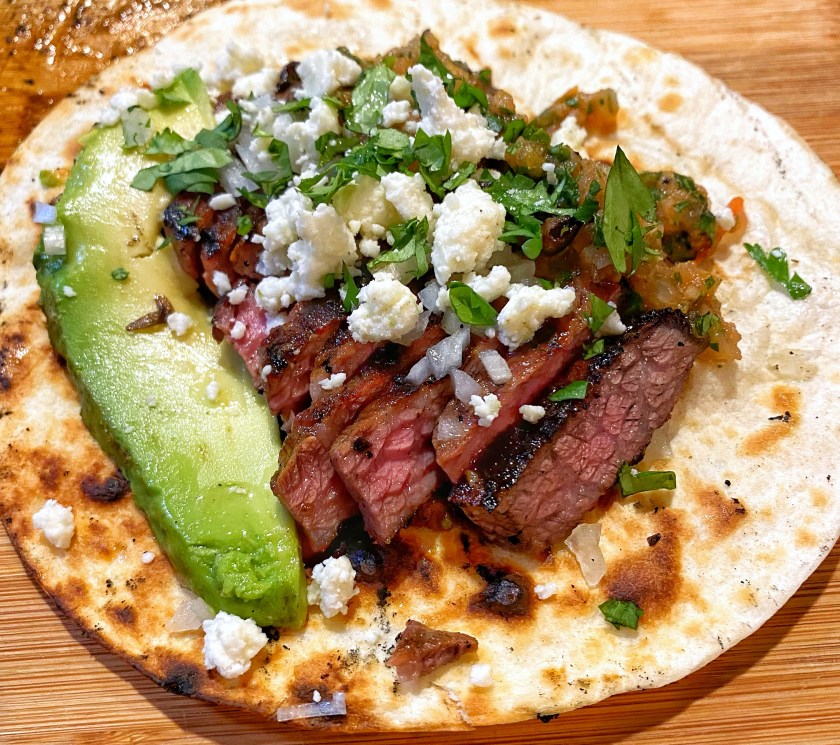
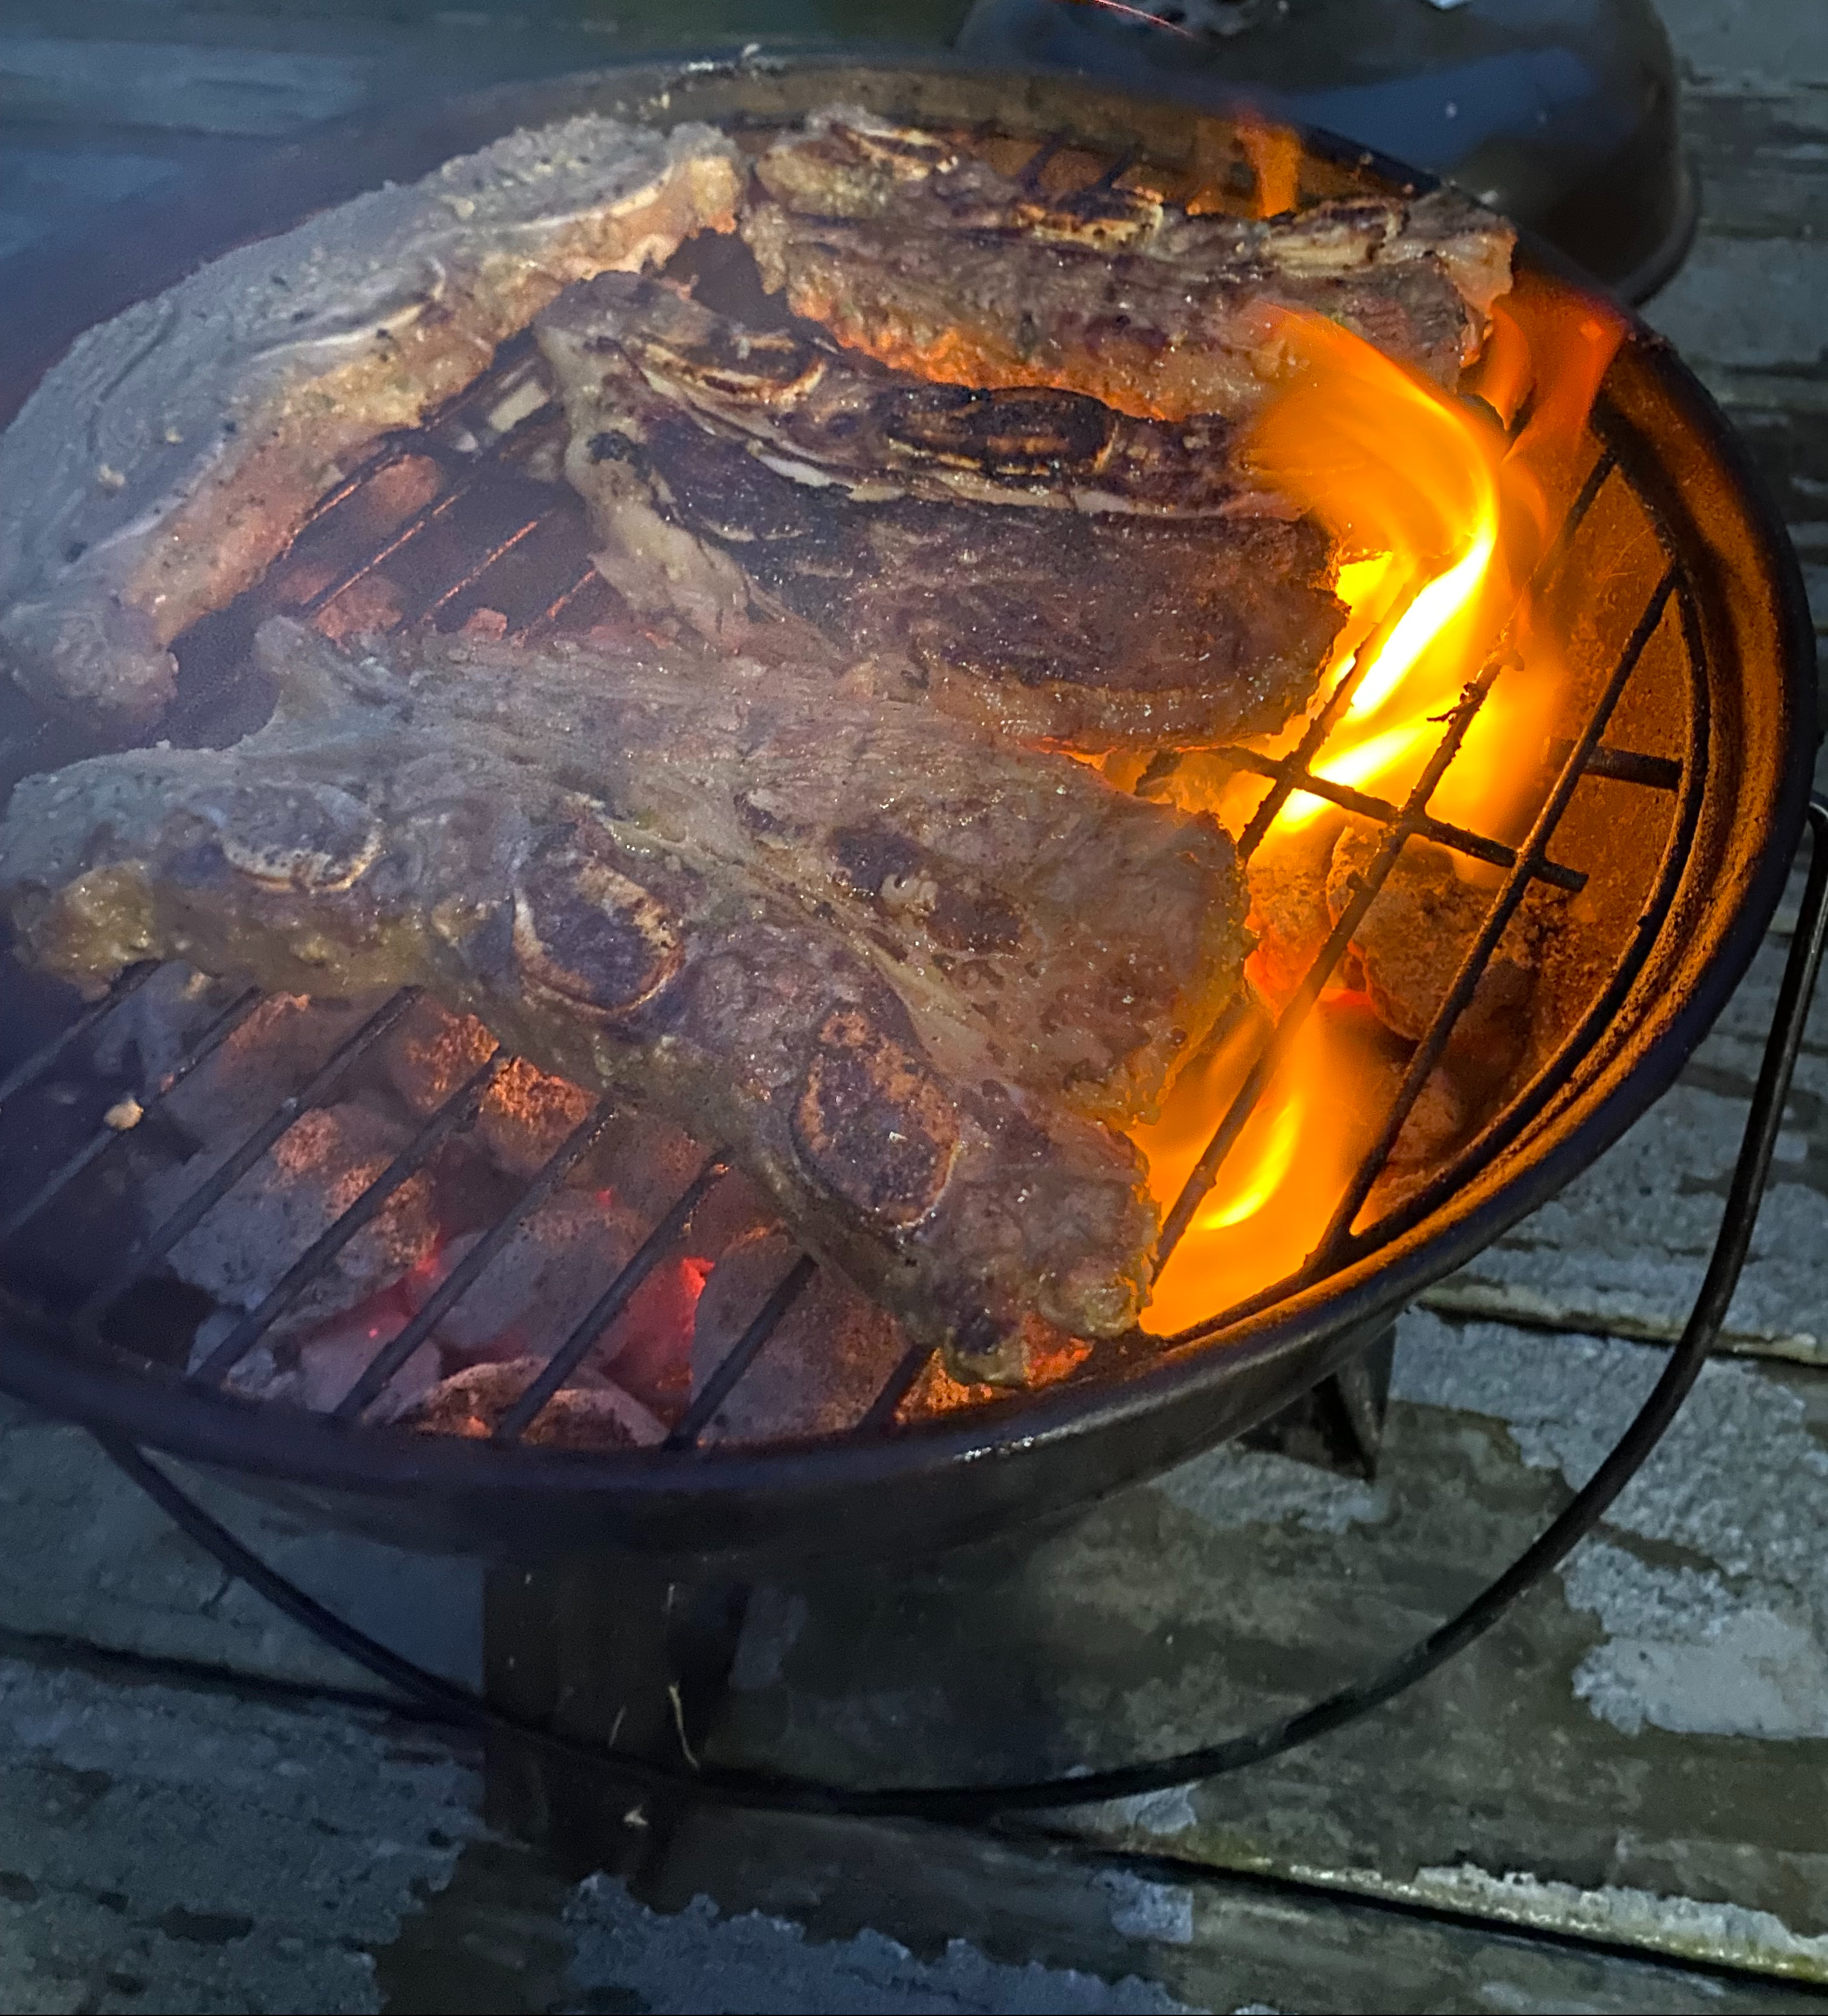
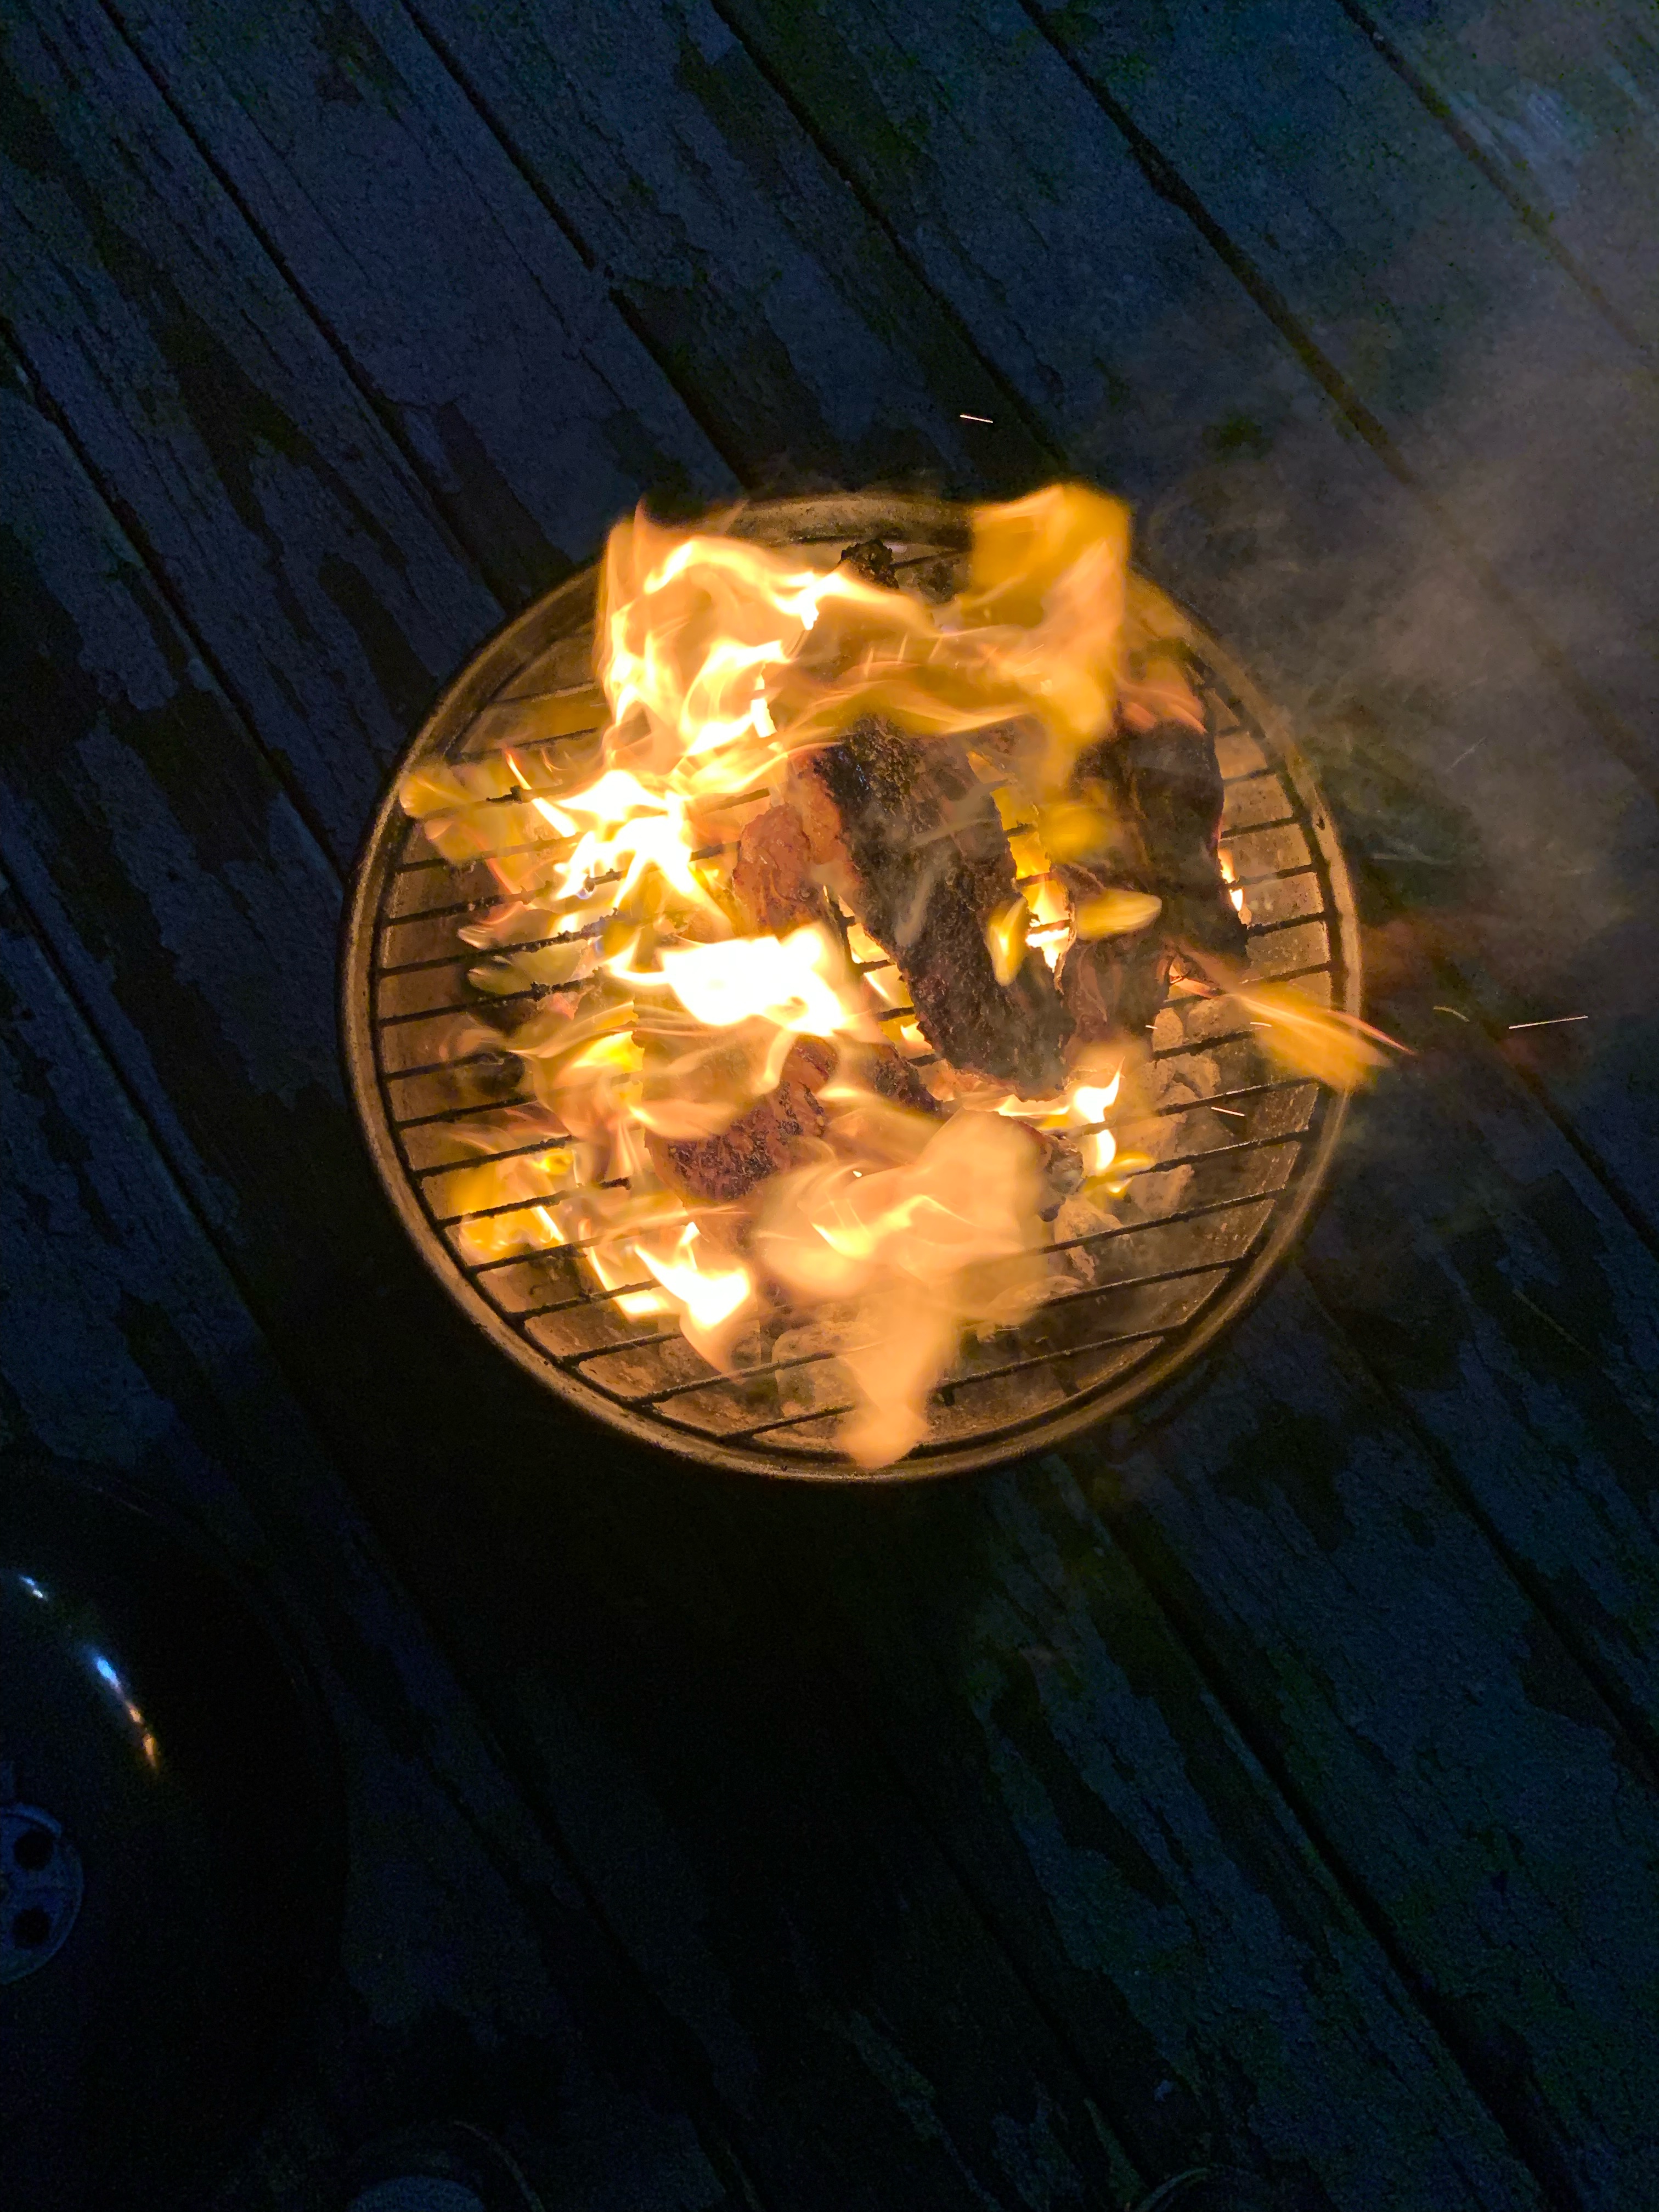
I love grilling whenever I can (b/c fire is cool) because of some caveman instinct probably. The fire gives a great flavor you can’t replicate inside, plus you get to click the tongs and legally people have to call you chief if you are running the grill. Note: other acceptable names are boss, big chief, grill master. This recipe uses ‘flanken’ cut short ribs which are longer strips with multiple bones. This is similar to what might be used for Korean barbecue a they cook very quickly and are well suited for grilling/searing on the stove.
The marinade I used was asian inspired (think Korean barbeque-esque) and then I topped it with a grilled salsa, quest fresco, and avocado. Feel free to experiment with the topping and marinade and try different combos. Last time I made these it was about 40F outside so I can say this is an anytime of year dish to grill outside if you are brave enough.
Tips and tricks:
You can make the salsa a day ahead to make it even more flavorful or make it the day of if you are planning to grill them first.
For extra flavor, grill the tortillas to get a nice char on them.
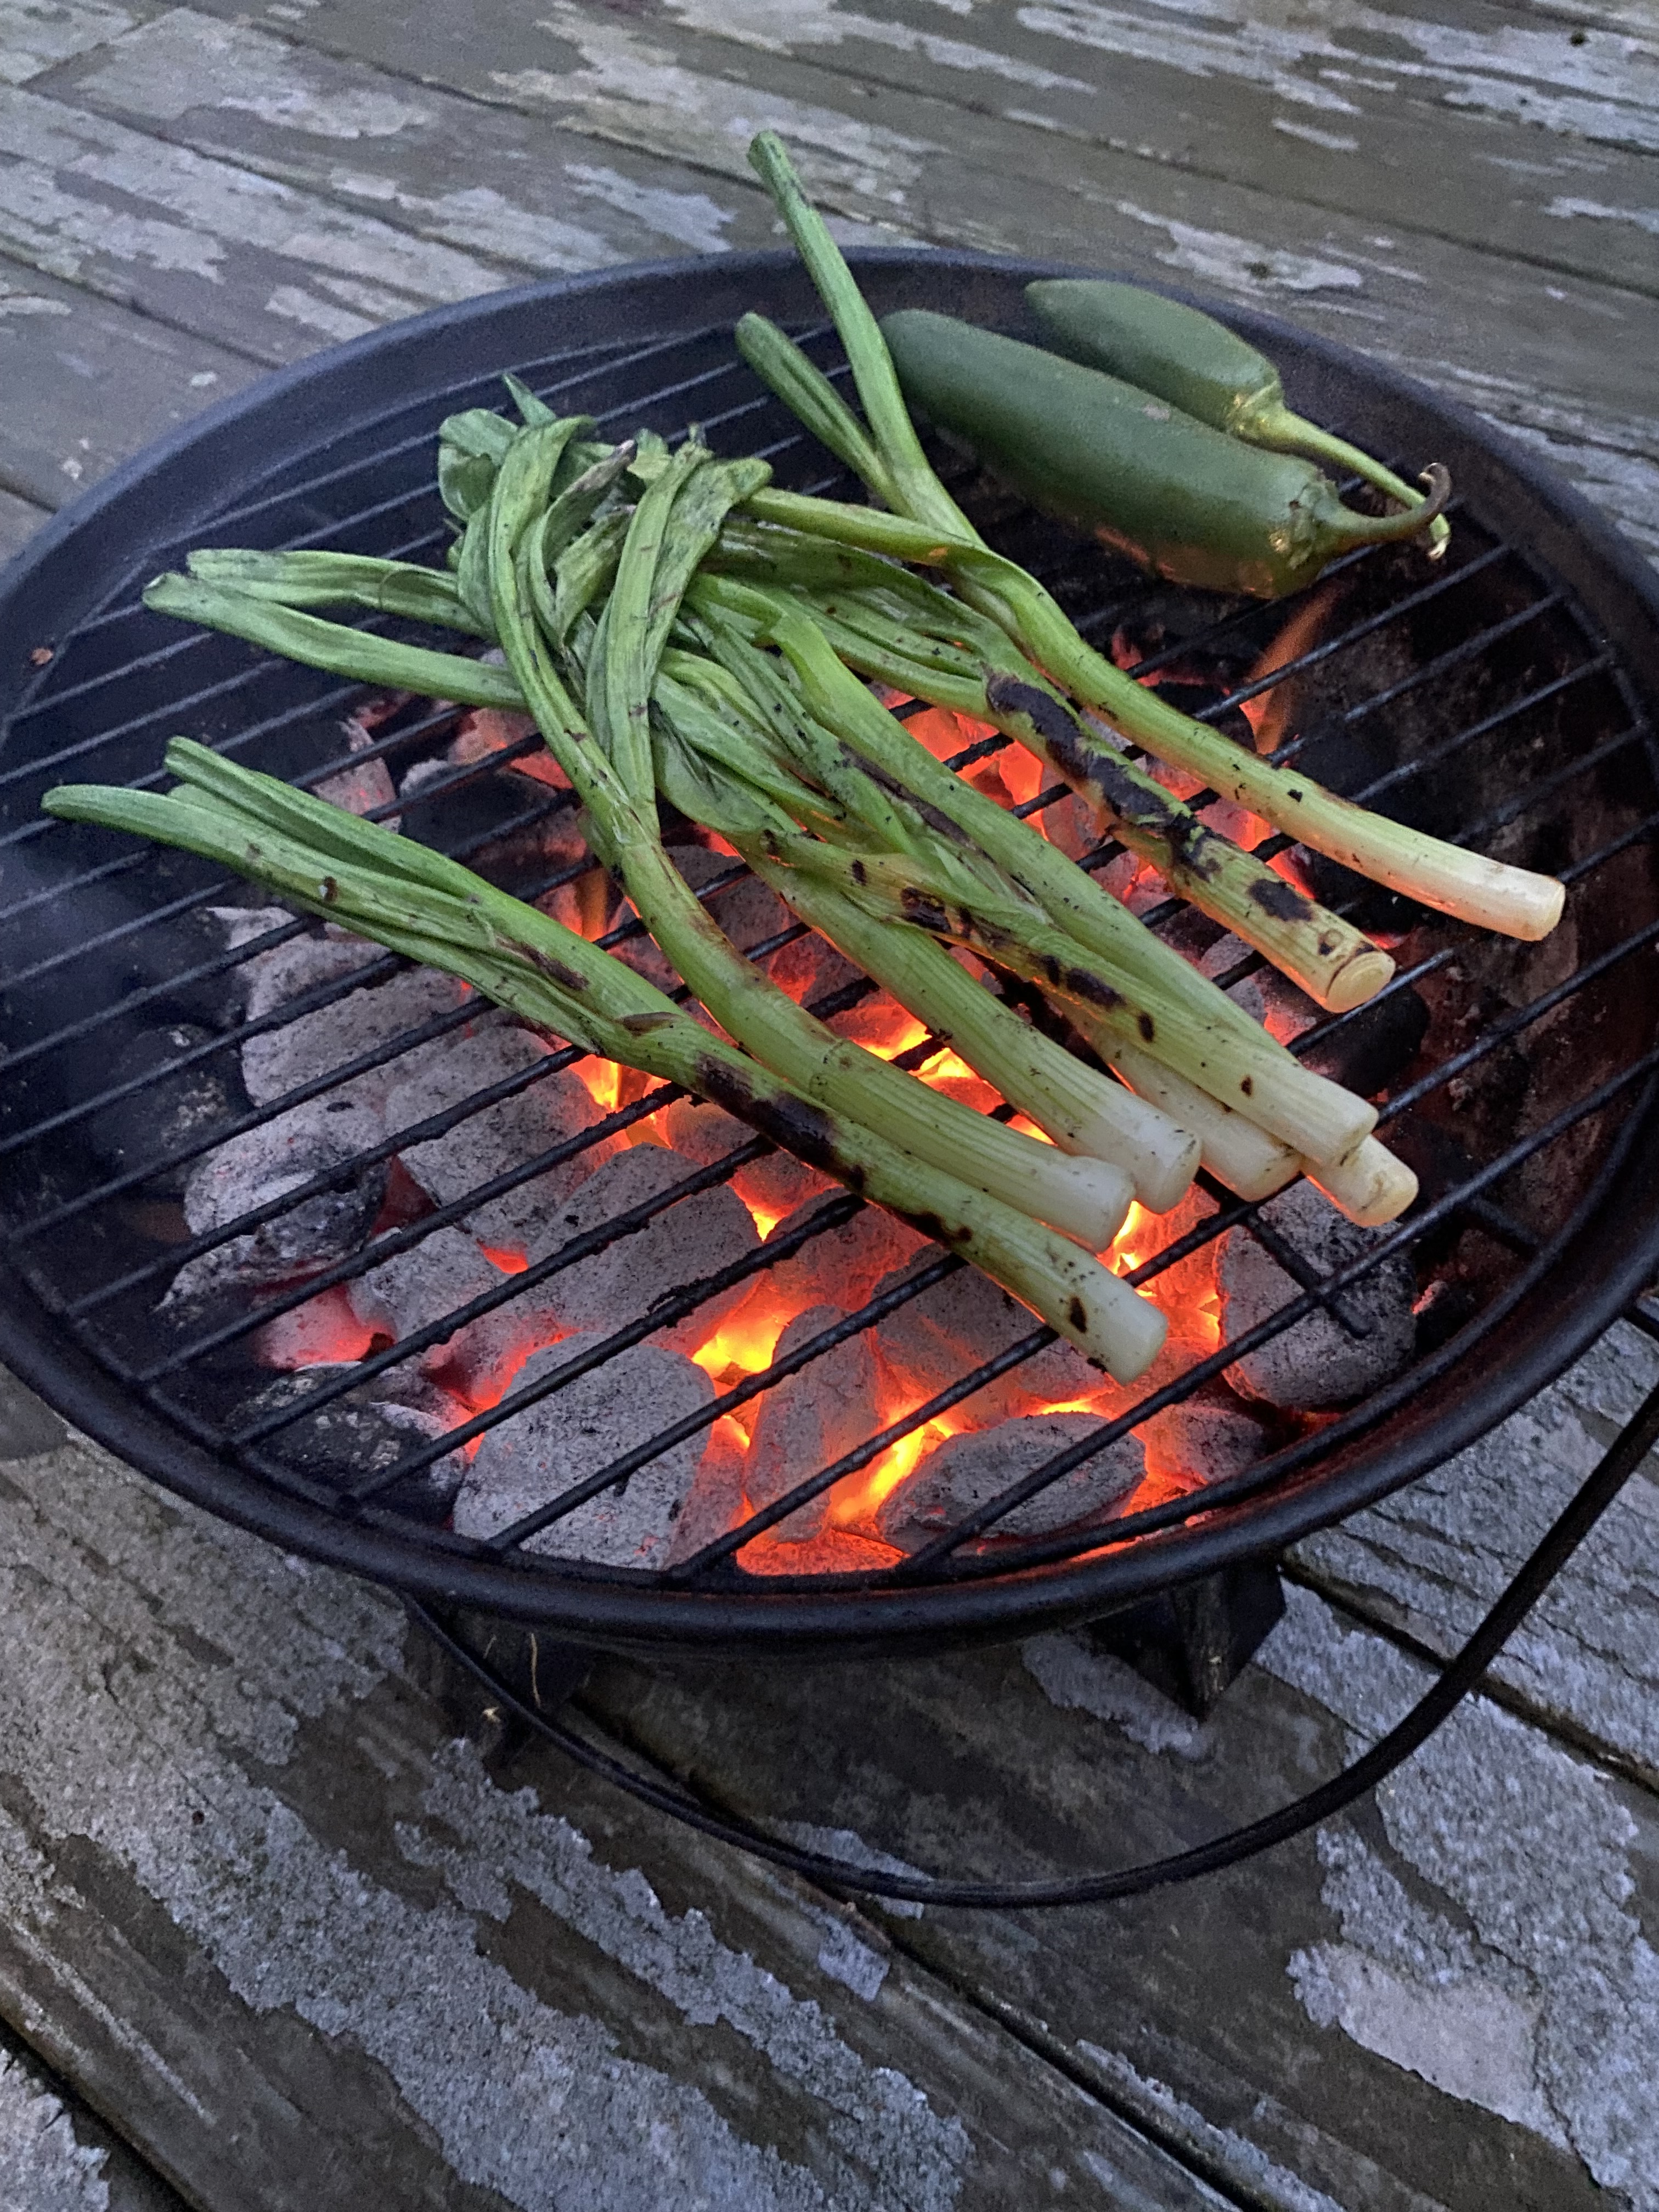
I served them with grilled scallions on the side for a nice quick side dish
Ingredients
Flanken cut short ribs (~ 1 rib per taco)
Flour or corn tortillas
Marinade: (for ~3 lbs. short ribs)
2/3 C. soy sauce
3 Tb sesame oil
1 medium pear or apple, cored and chopped
2-3 Tb. Honey or brown sugar
6 cloves garlic, peeled
1 Tb. knob of ginger
1/2 C. diced green onion
1/4 C. rice vinegar
Grilled Salsa:
3-4 Roma tomatoes
1-2 small onion
1/2 bunch cilantro, rough chopped
1-2 small jalapenos
Lime juice
Toppings:
Sliced avocado
Queso fresco
Diced onion/cilantro
Limes
Radish, thin sliced
Get Cooking
Marinade the ribs 4-8 hours before cooking if possible: Combine all the marinade ingredients in a blender and process until smooth. Add the short ribs to a large ziplock bag and pour in the marinade. Mix and smoosh around to coat the ribs and place the bag in the fridge on a plate or tray. Flip the bag every 1-2 hours to make sure the marinade is even.
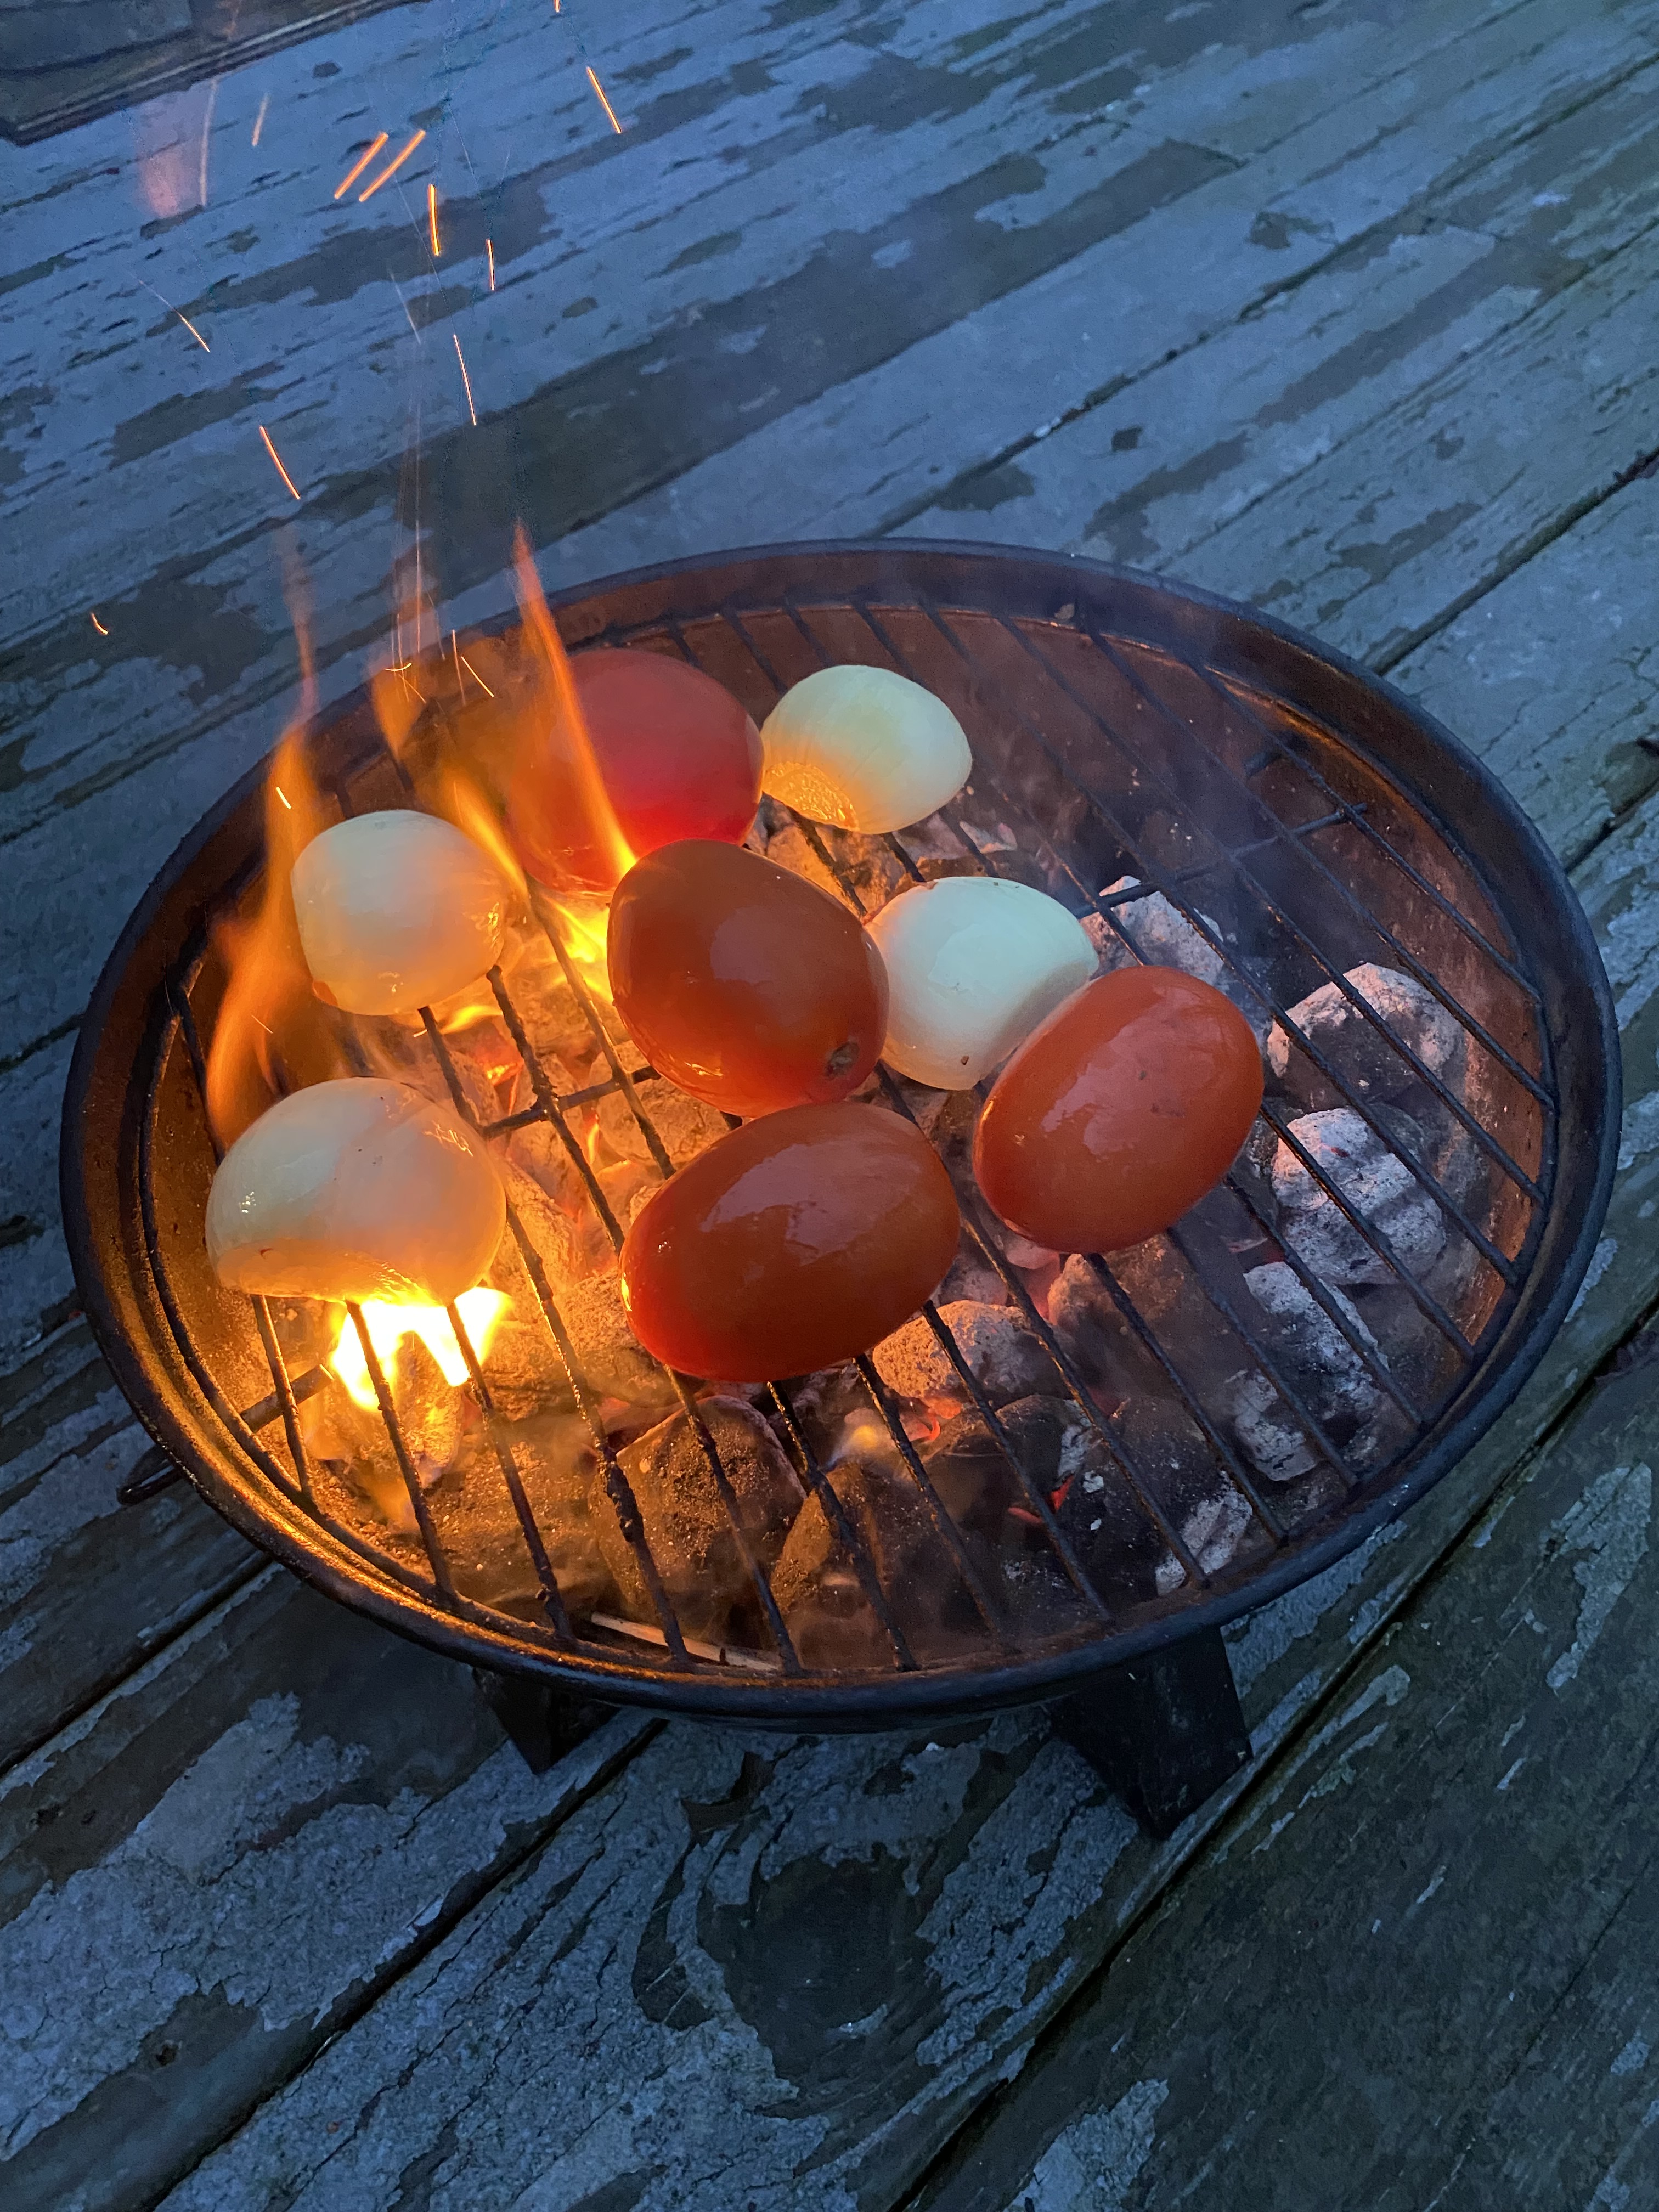
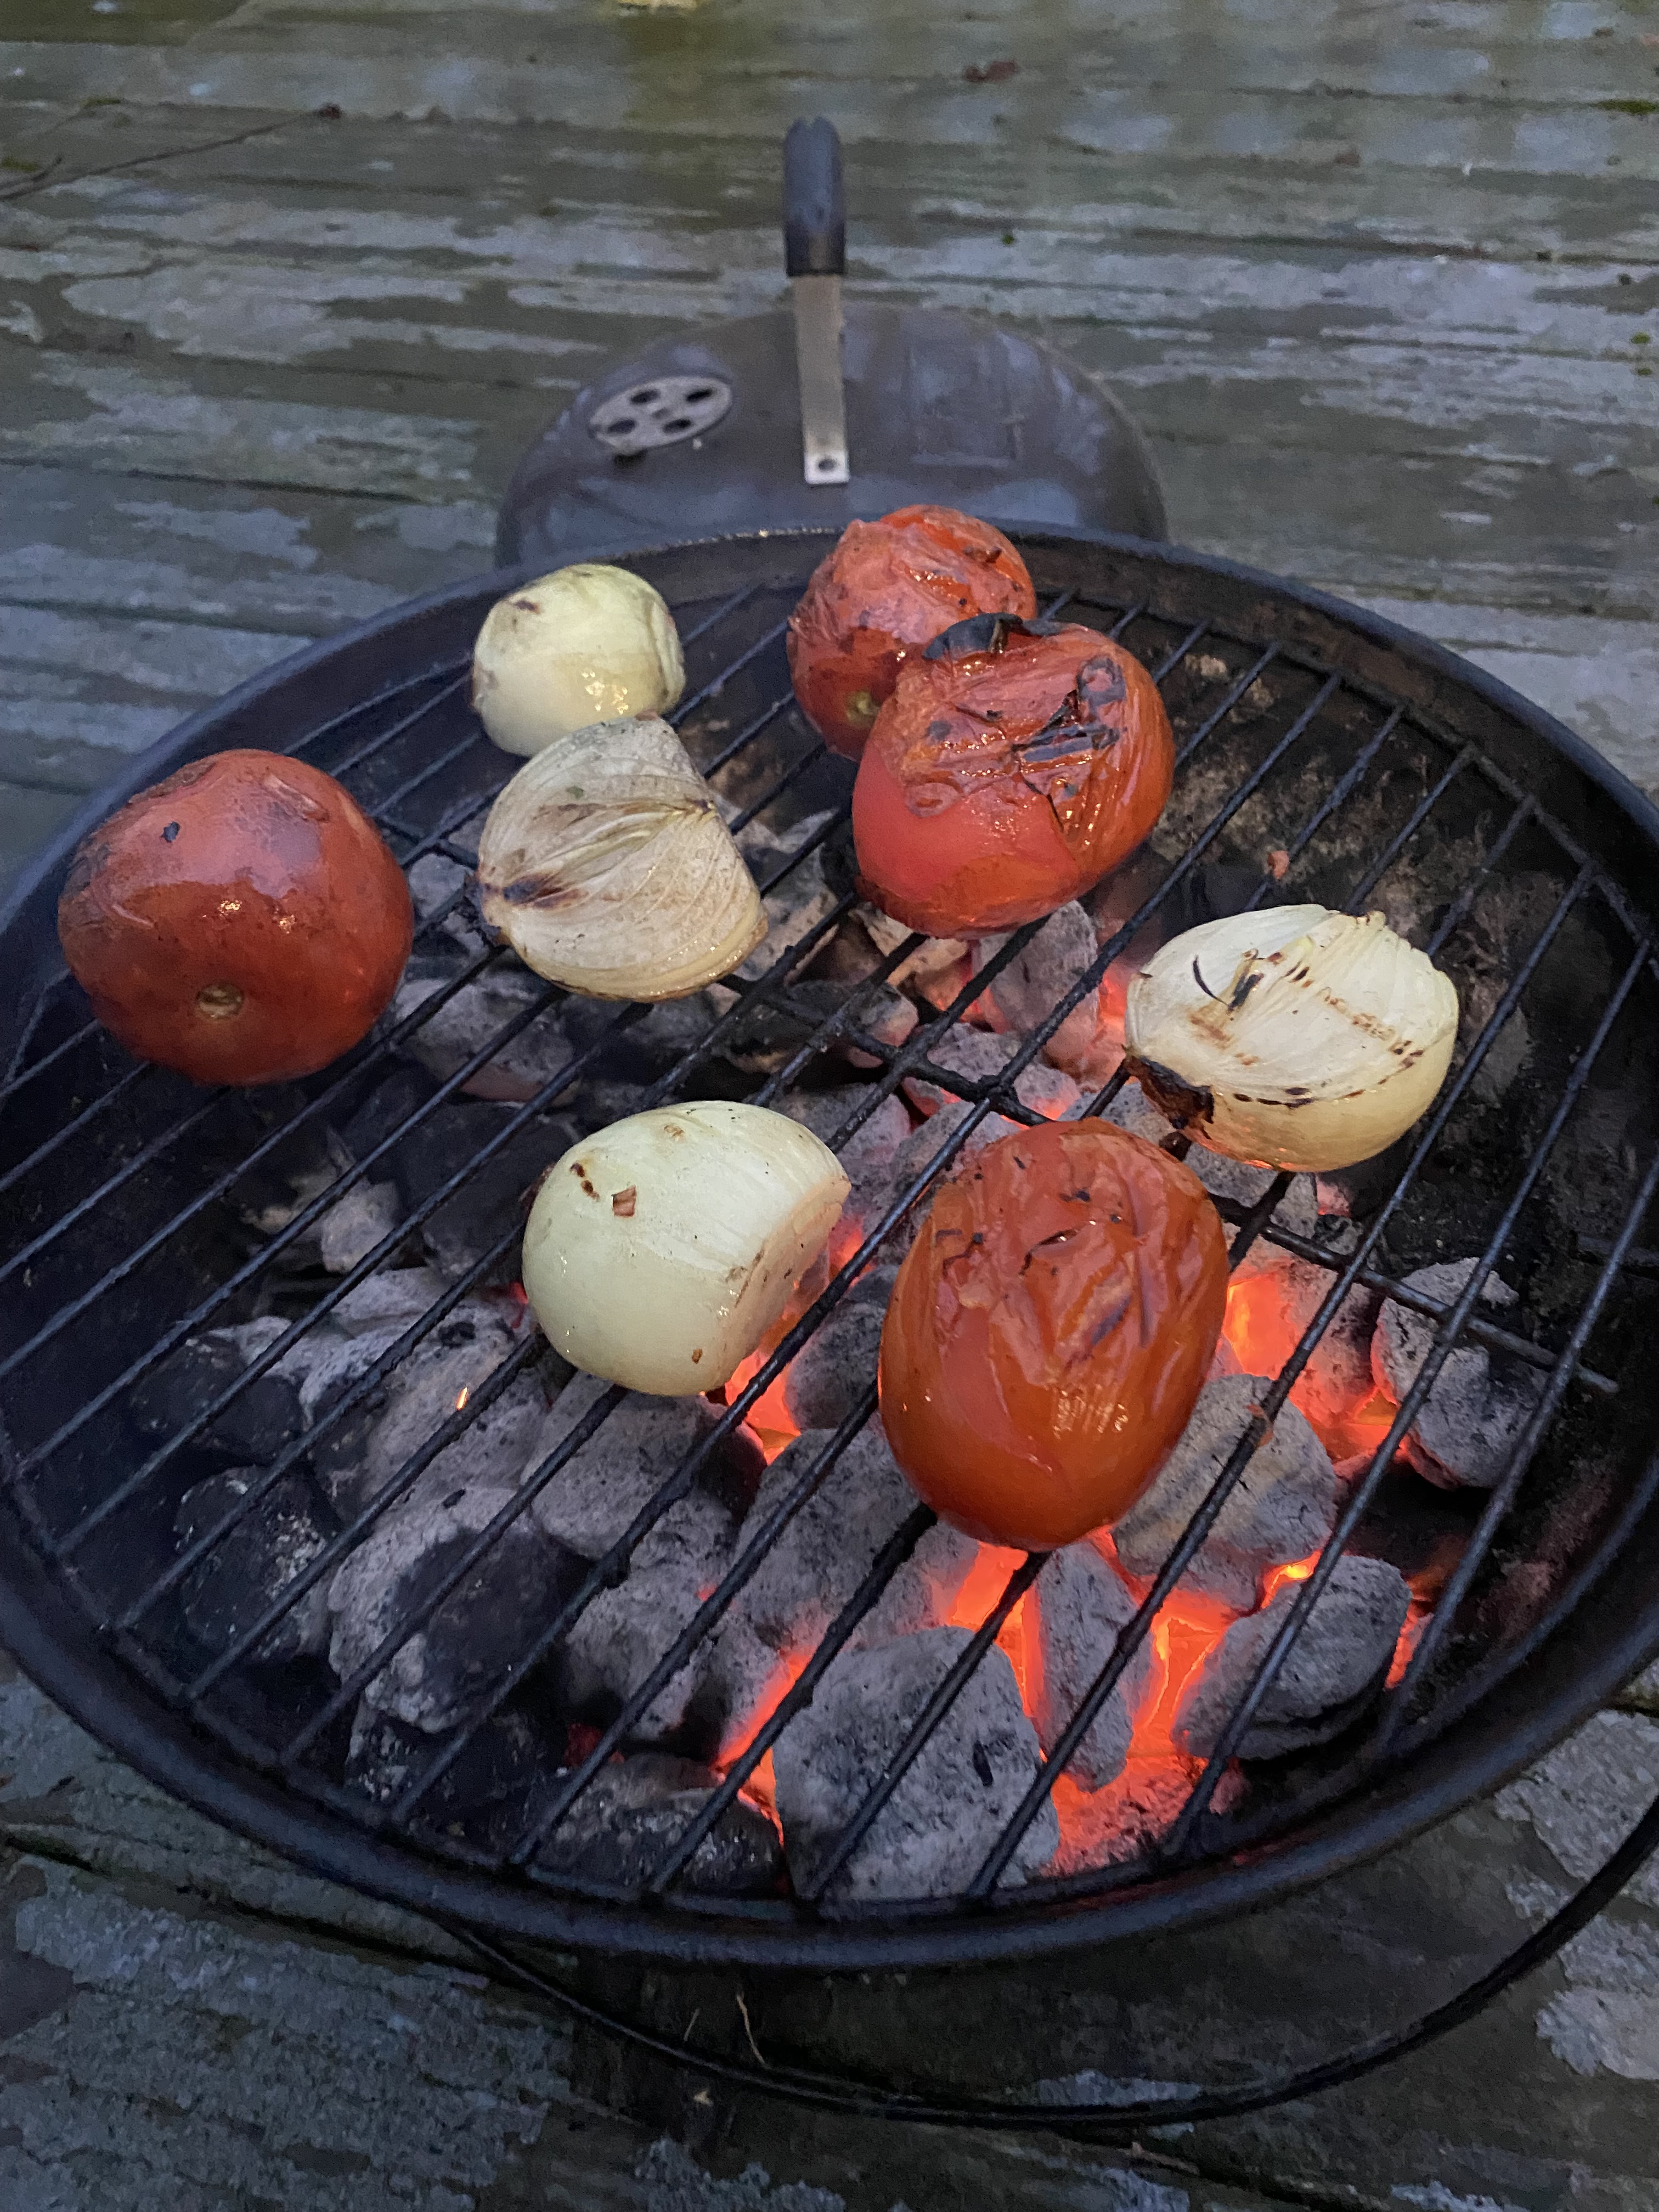
Prepare salsa: If grilling/ roasting the vegetables first, coat the tomato, onion (halved), and jalapeno and season with salt. Either A) grill vegetables over the coals until soft and the outside is charred or B) place on a sheet tray and under the broiler for 5-10 minutes per side until soft and charred. Another option is to keep this as a very fresh salsa and use the raw vegetables.
Place the vegetables into a food processor along with the cilantro and some lime juice (I usually start with 1/2 a lime). Blend the salsa until your desired chunkiness is achieved. Taste and adjust the seasoning as needed.
Cook the ribs: Remove the ribs from the fridge and carefully wipe off the excess marinade before cooking. Extra marinade may burn due to the sugar so be careful.
Grilling: If grilling, cook the ribs for 3-5 minutes per side or until your desired level of doneness is achieved. The correct answer is medium/ medium-rare. Please don’t tell me if you like your steaks well done. Be sure to keep the ribs moving to prevent too much burning, but some char is good to provide some bitter flavor.
Stovetop: On a stove, preheat a cast-iron skillet over medium high heat. Add a small amount of oil and place the ribs in the pan and leave for 3-5 minutes until a good crust has formed. Flip and cook the ribs until your desired level of doneness.
After cooking the ribs, optionally grill or sautée some green onions seasoned with salt for 1-2 minutes or until slightly soft. In either case, rest the ribs for 10-15 minutes before cutting.
Heat the tortillas – my preferred method is grilling or over the stove. Its important to flip it with your hand like your abuela would but use tongs if you must (please don’t burn yourself). You can also wrap in foil and heat in the oven, or even microwave them.
Cut the ribs into small chunks and assemble the tacos! Top with whatever you want, some suggestions are quest fresco, avocado, cilantro, and be sure to give a big squeeze of lime juice!
I took high school Spanish so I know how to pronounce this dish.
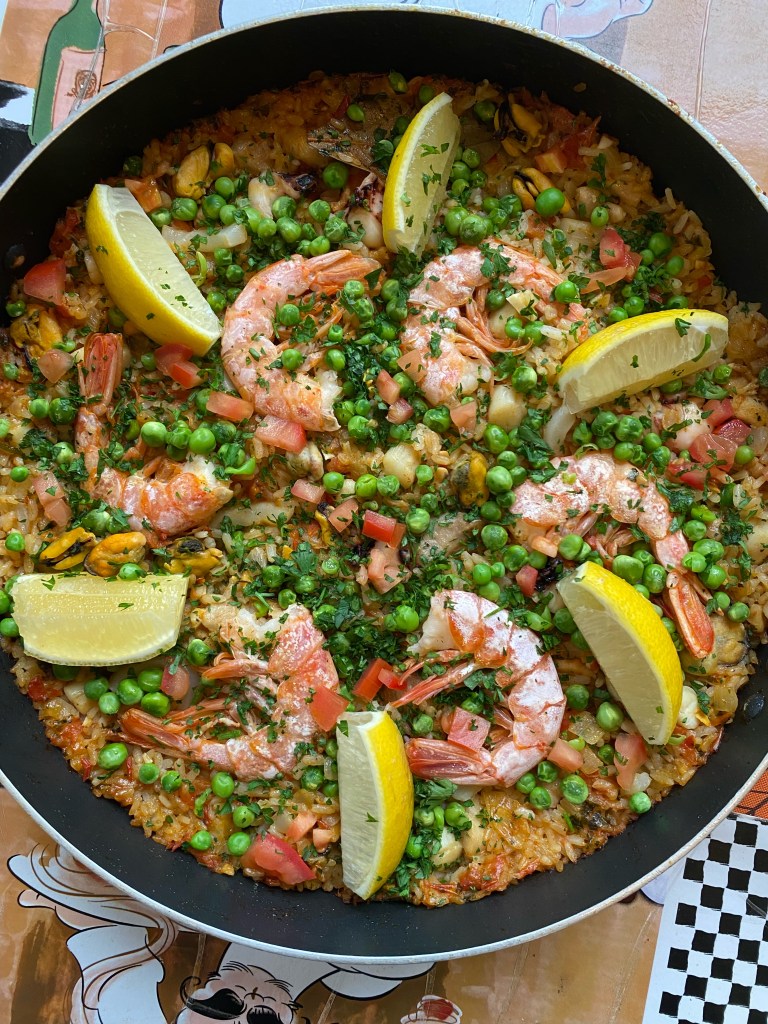
Fun Fact: Paella has origins in Valencia and the first documented recipes date back to the 18th century.
Since Christmas has far less rules about what to make (compared to Thanksgiving) I decided to make this as a way to pretend I was in a much more exotic place for the holiday (results may vary based on imagination).
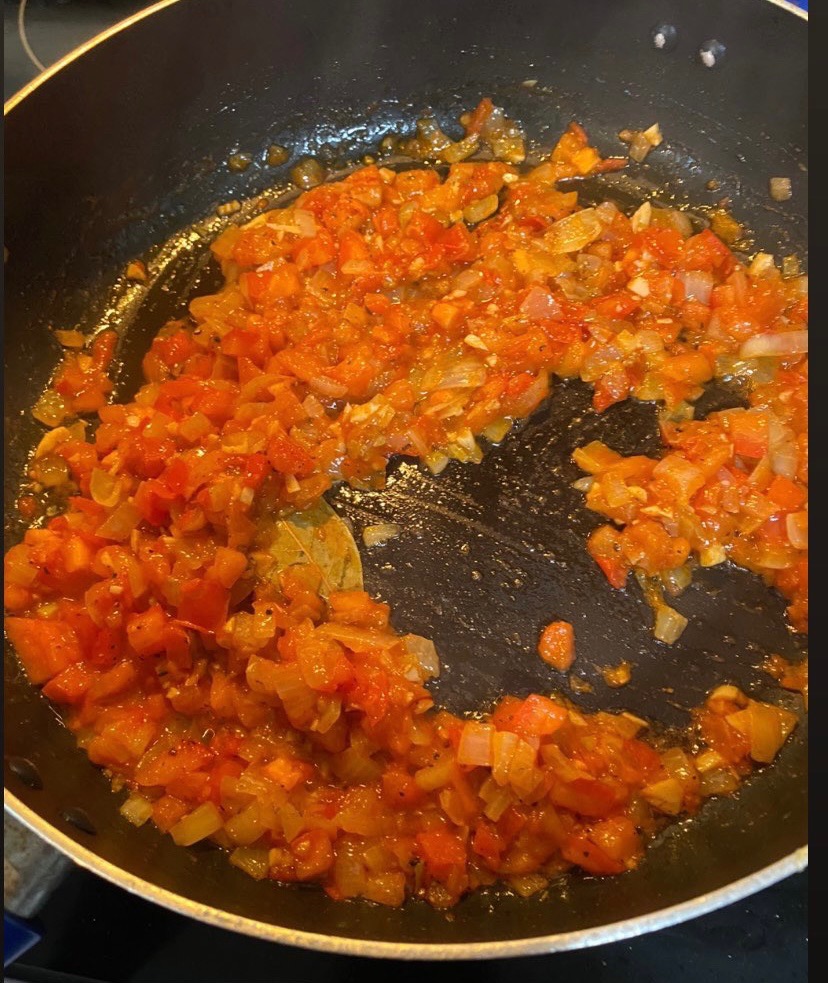
I had never made paella before so I found this recipe from tastesbetterfromscratch.com (click here) to use as a baseline, but did make some changes to adapt to what I had on hand. It is a simple recipe but very easy to follow and the results turned out great! I think this recipe has a lot of room to experiment with in terms of fillings so feel free to get creative!
For my version, I used a mix of seafood including calamari rings, octopus, baby scallops, and muscles. Additionally, I decided to get some U13/15 shrimp to arrange on top and I think they really brought the dish together. I used a 12 inch diameter pan which worked well so I would be careful to adjust things if your pan size is different.